 Back
Back
Published 2025.09.28
Pizza purists, avert your eyes; for I am about to recount the tale of Cudahy-Style Pizza and its accompanying appetizer: Cudahy Funny Stix.
Cudahy-Style pizza is a dish of my own invention and is not featured on any restaurant menu. I did invent it in Cudahy, WI, and as far as I know, no one else had yet claimed this locale for a pizza style. It is characterized by the following features:
Cudahy Funny Stix are my take on garlic bread sticks in the vein of Little Caesar's Crazy Bread. They are the perfect side dish for Cudahy-Style Pizza; not because they really compliment the pizza in any way, but because you can make them with virtually the same ingredients and almost no additional effort.
Ingredients:
Approximately three days before you want to make your pizza, you should make the dough. I use my bread maker (and the recipe from the book that came with it) to make it. It's important to use fresh dough with active yeast in it; I'm not sure what would happen if you tried to use premade pizza dough from the store, but I'm guessing it would stay relatively inert in your fridge. When the dough is made, place it in a sealed, oiled container, and leave it in the fridge. It will rise slightly so be sure to use a container with plenty of extra room.
Then, leave it in the fridge for a few days. This is almost certainly completely safe, but I absolve myself of any liability if you try this at home. I first discovered this when I made a double batch of pizza dough and wanted to wait a bit before making the second pizza. Leaving fresh dough in the fridge a few days gives it a mild fermented flavor, similar to sourdough bread.
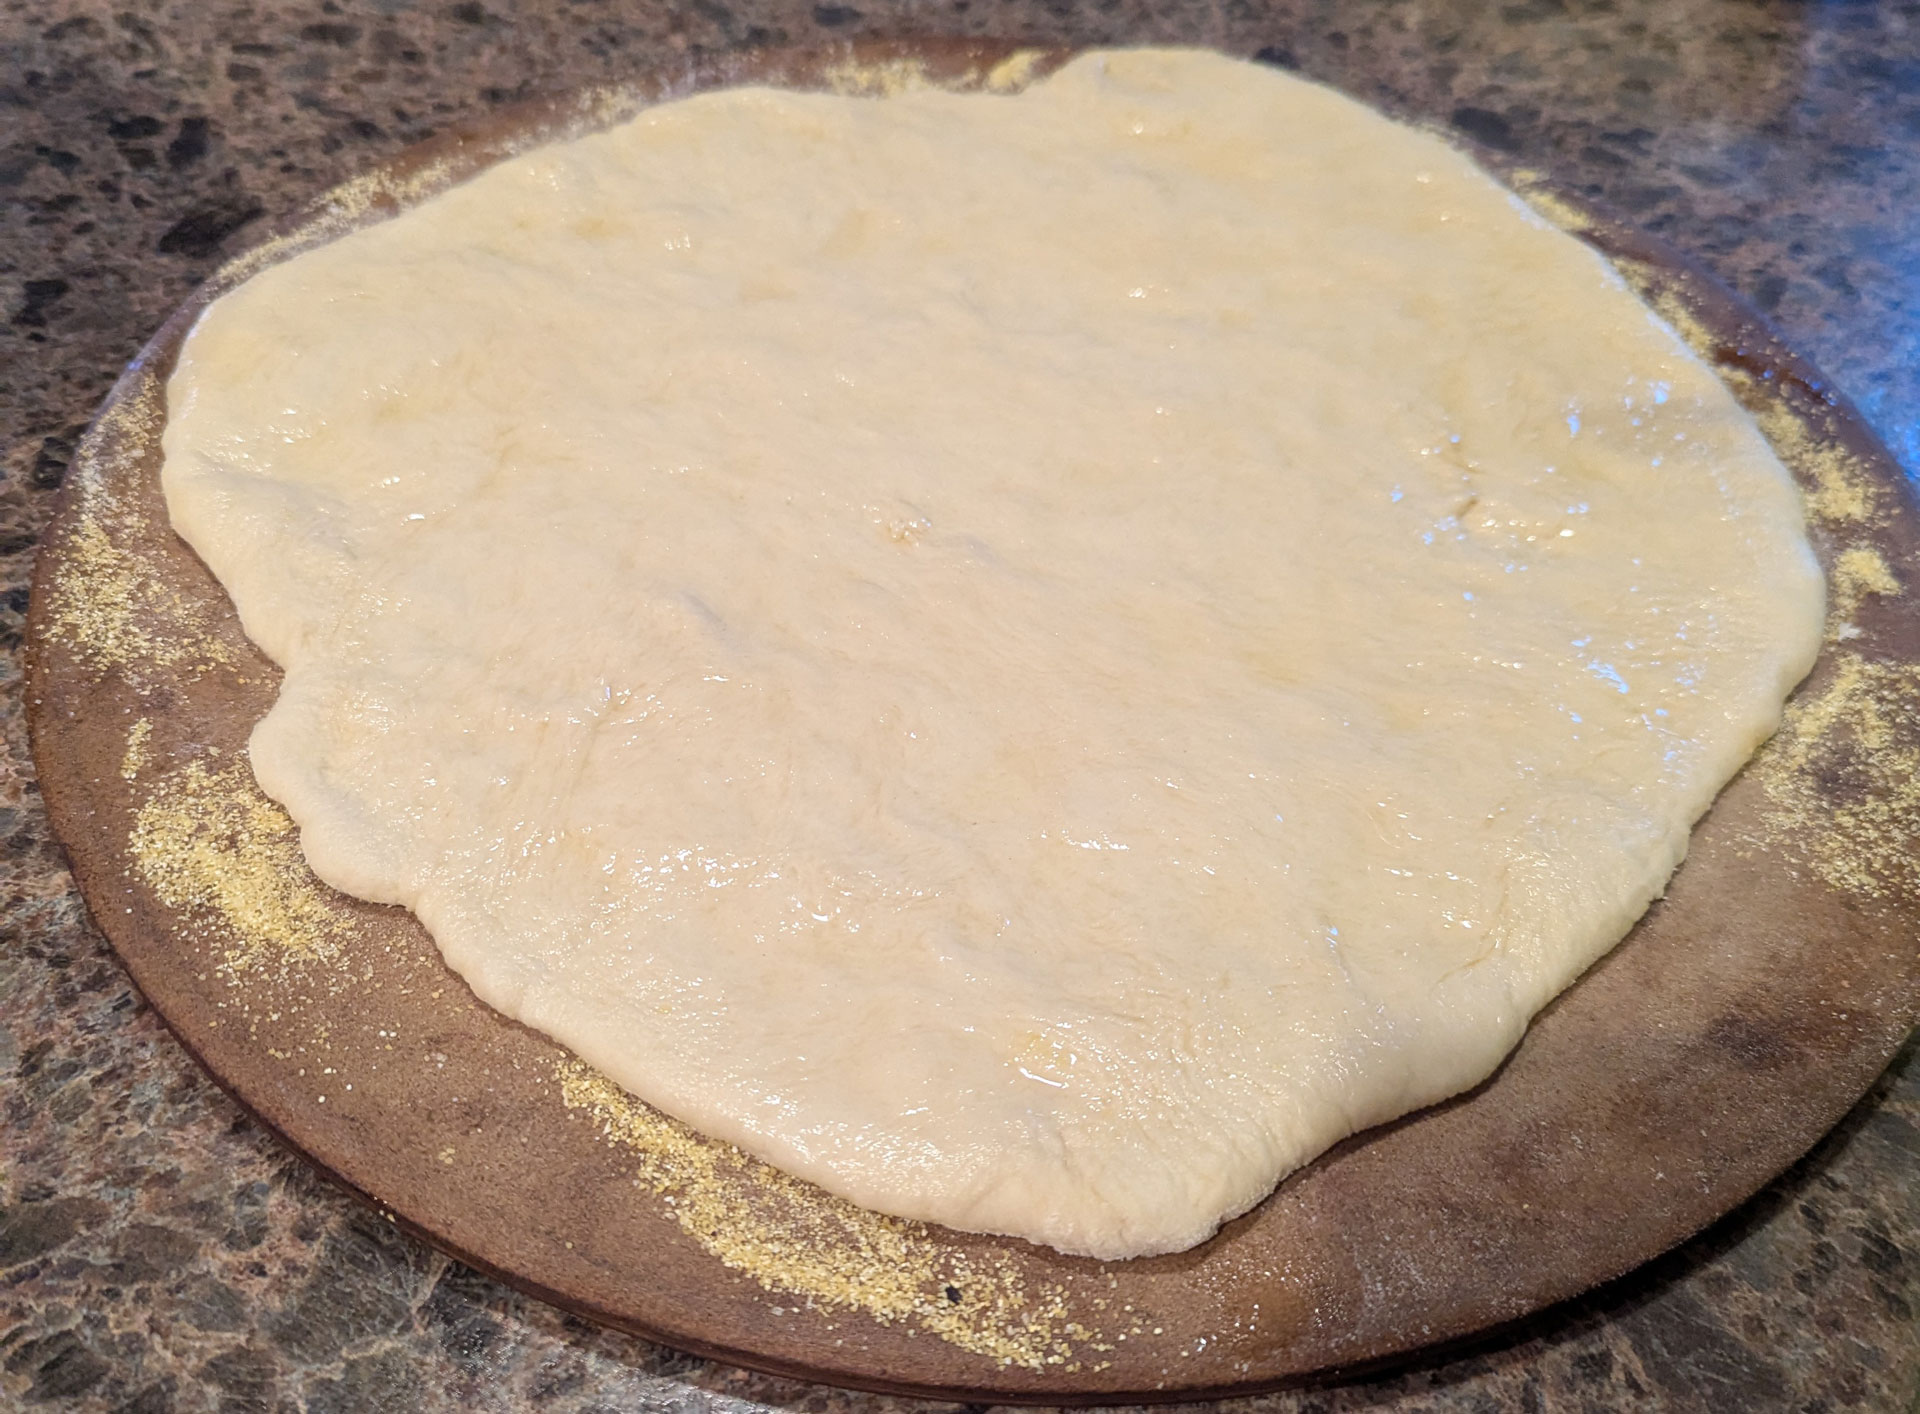
After some time has passed and you're ready to make your pizza, take your dough out and let it get to room temperature, then knead it for a bit on a floured surface and roll it out and place it on a cornmeal-coated pan or pizza stone. Feel free to give it a bit of a raised crust if you want, but I find this is not necessary. The less bare crust you have at the edges the better. Brush the dough with olive oil and leave it alone to rise.
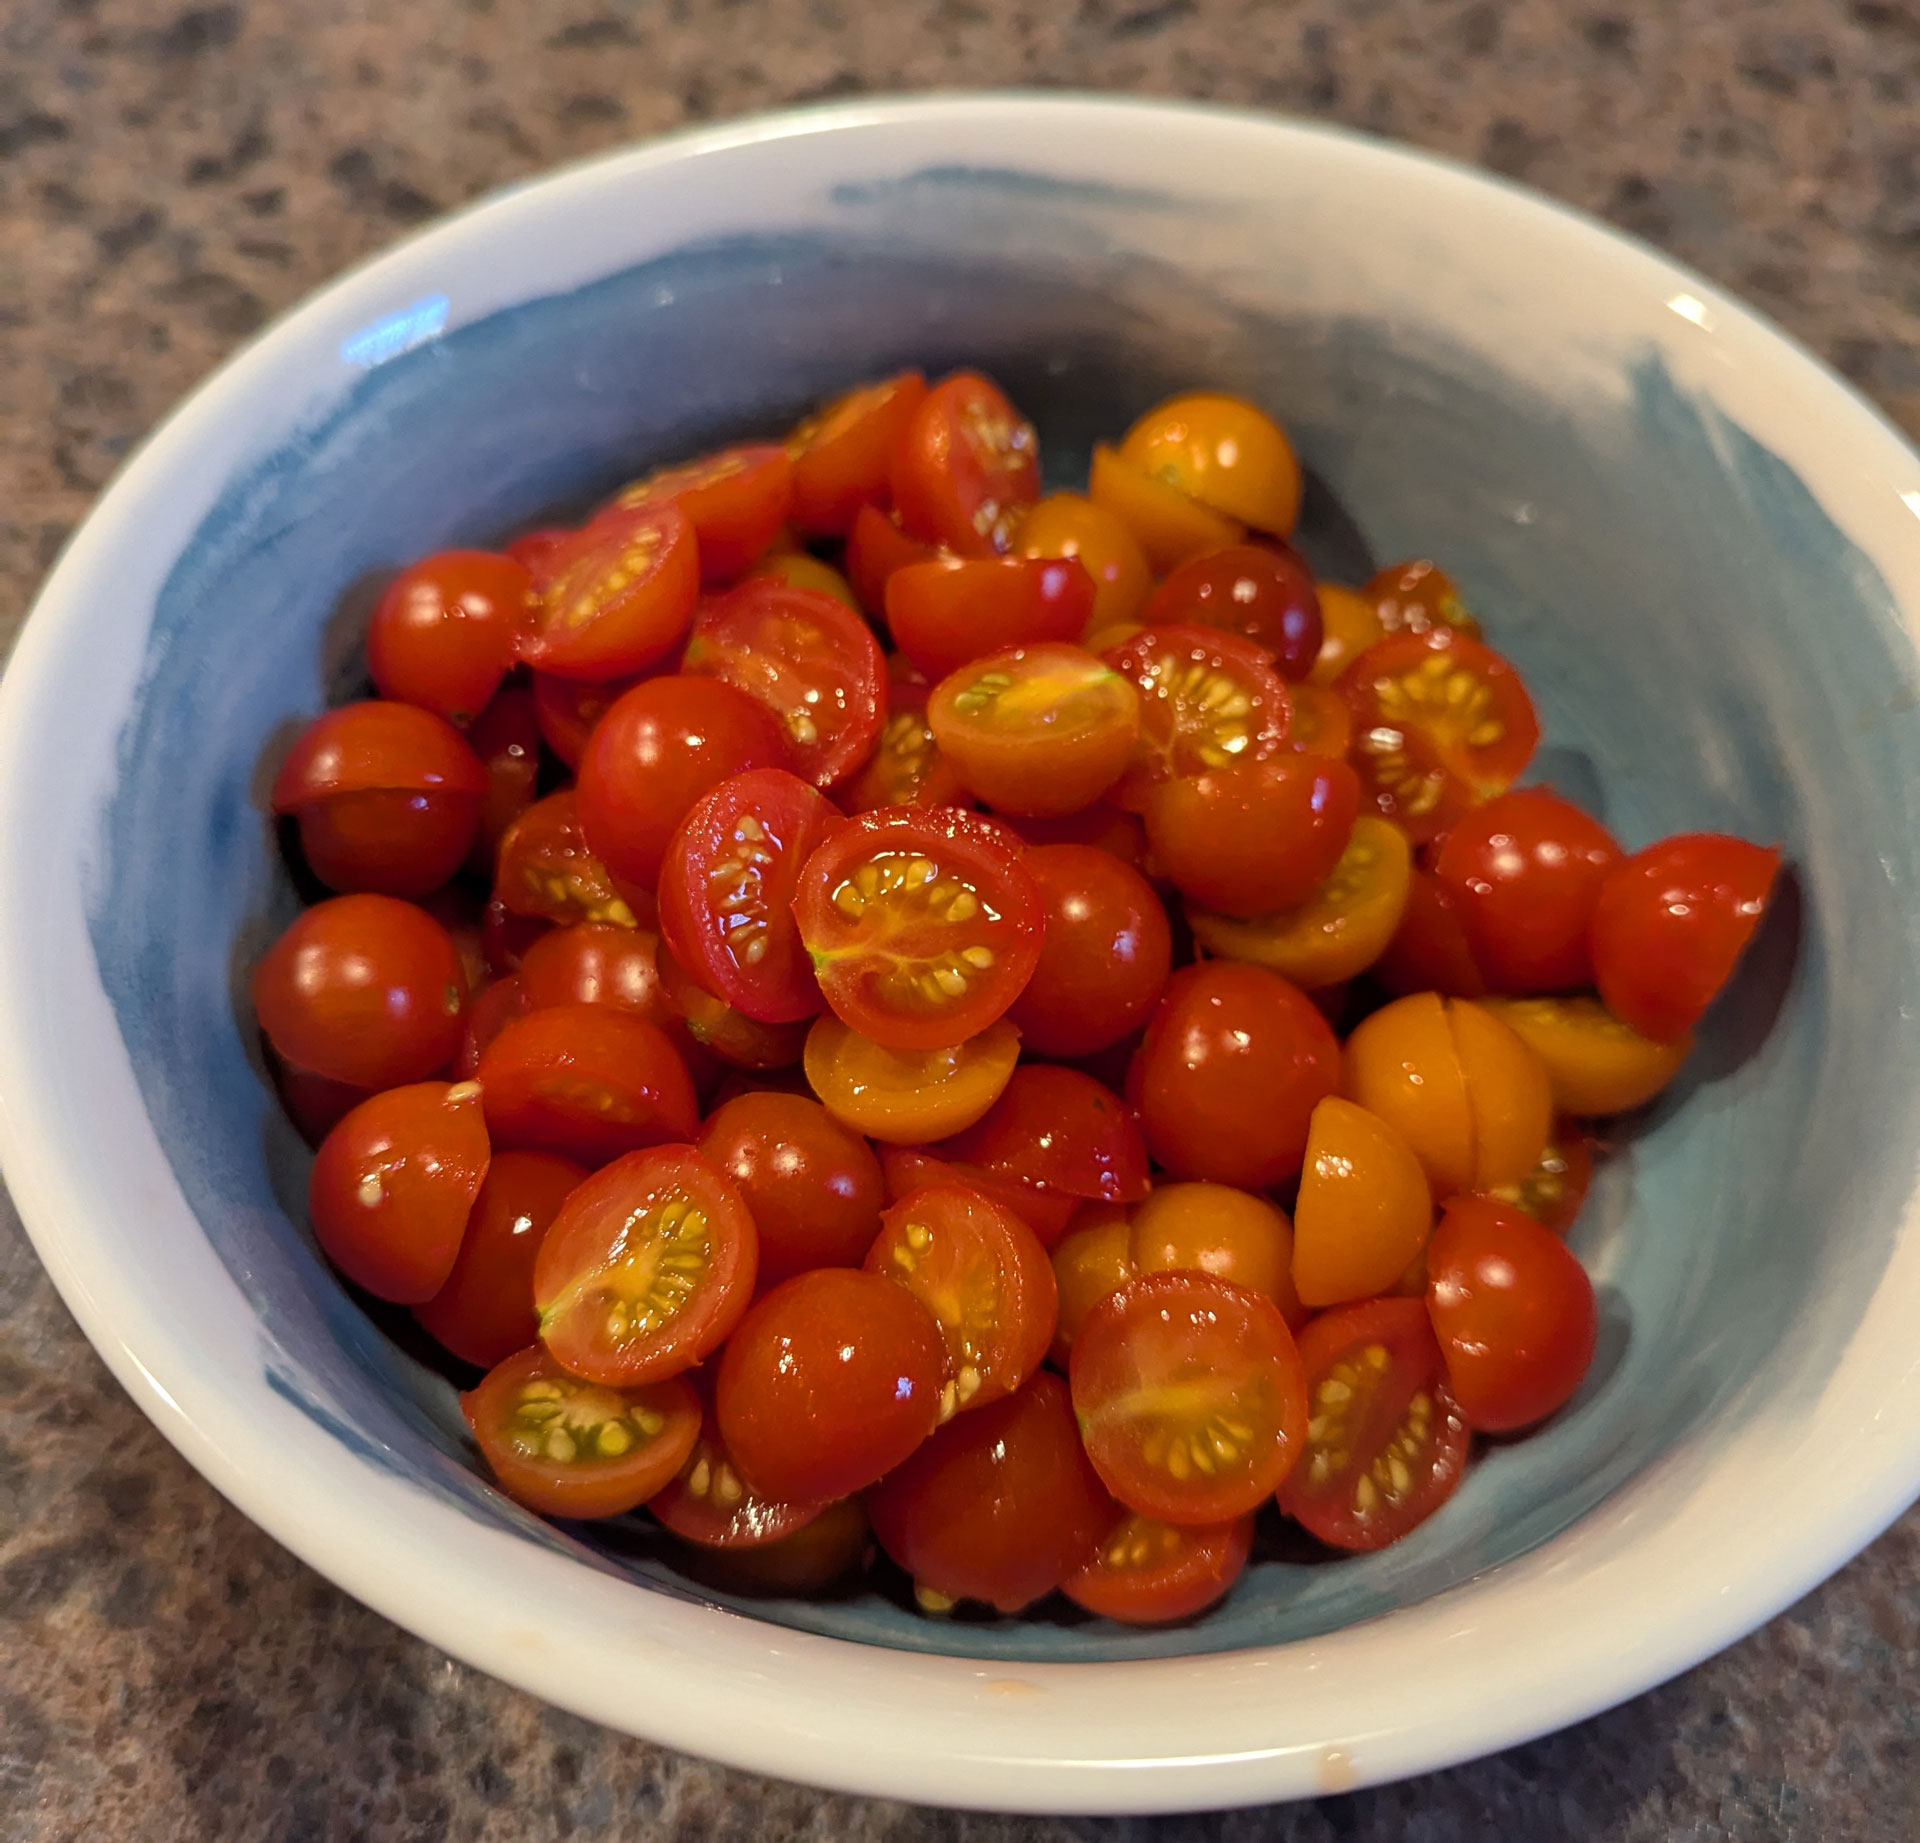
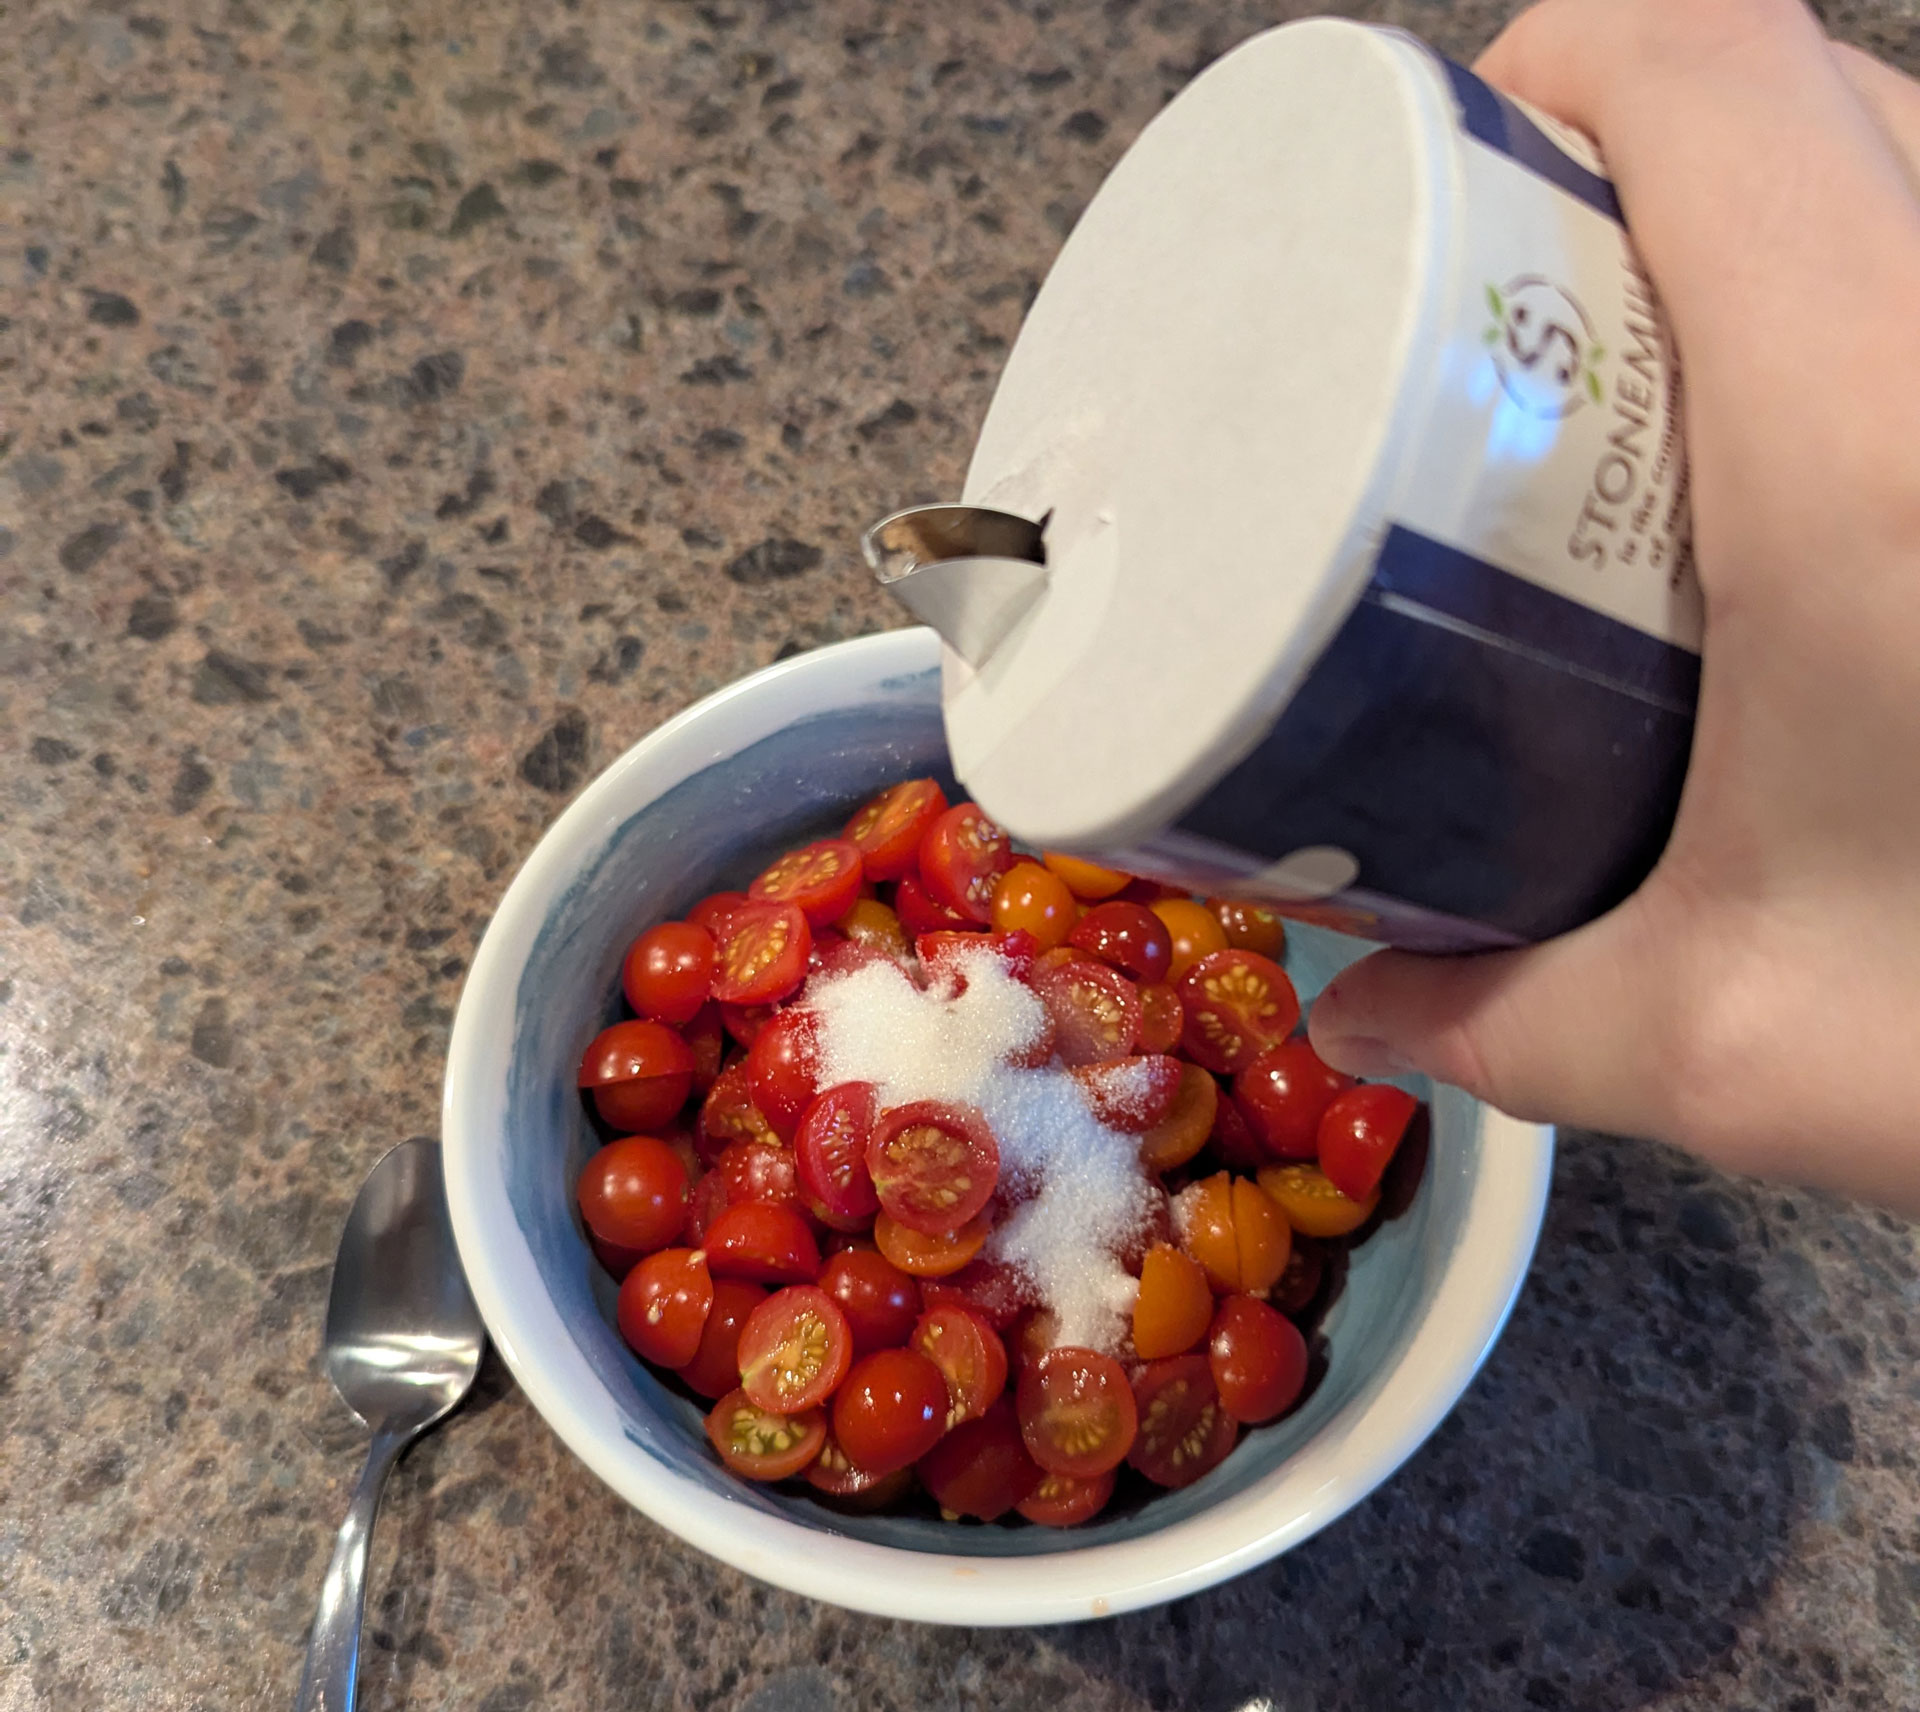
While the dough is rising, rinse and halve your cherry tomatoes, ideally fresh from your garden but plenty ripe. Don't worry about the yellow-orange ones in my sauce; they are a different variety, and that's how they look when they're ripe. You should have about this many:
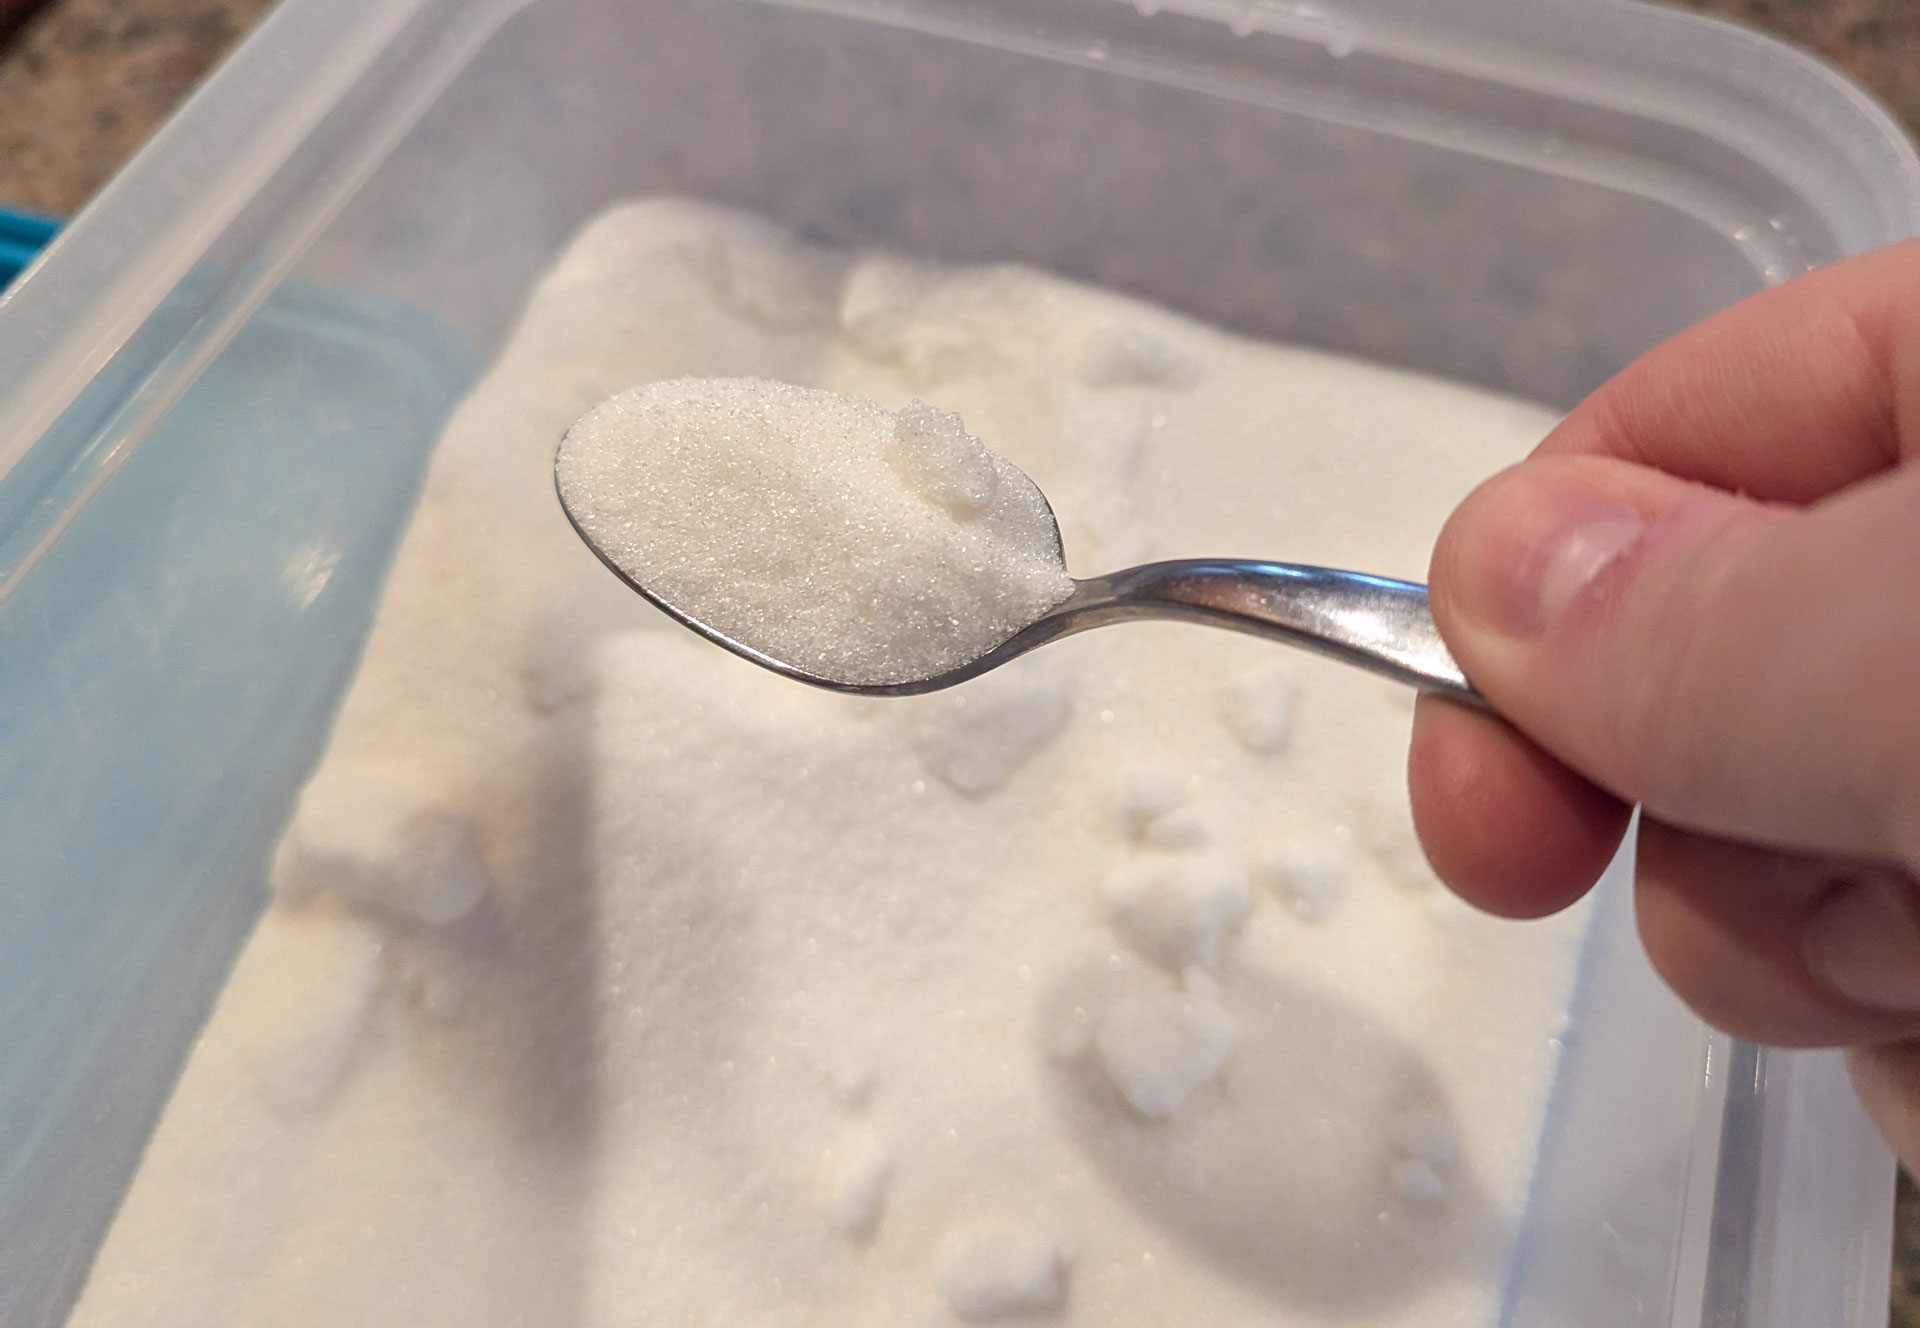
Then add some sugar, a big spoonful. Maybe a little more. This is probably more sugar than your instincts tell you to add, but the key to all good cooking is to go a bit over the top, particularly with salt, sugar, and cheese; that's why food at restaurants is typically better than what you make for yourself: you don't see the degree of their excess in the kitchen.
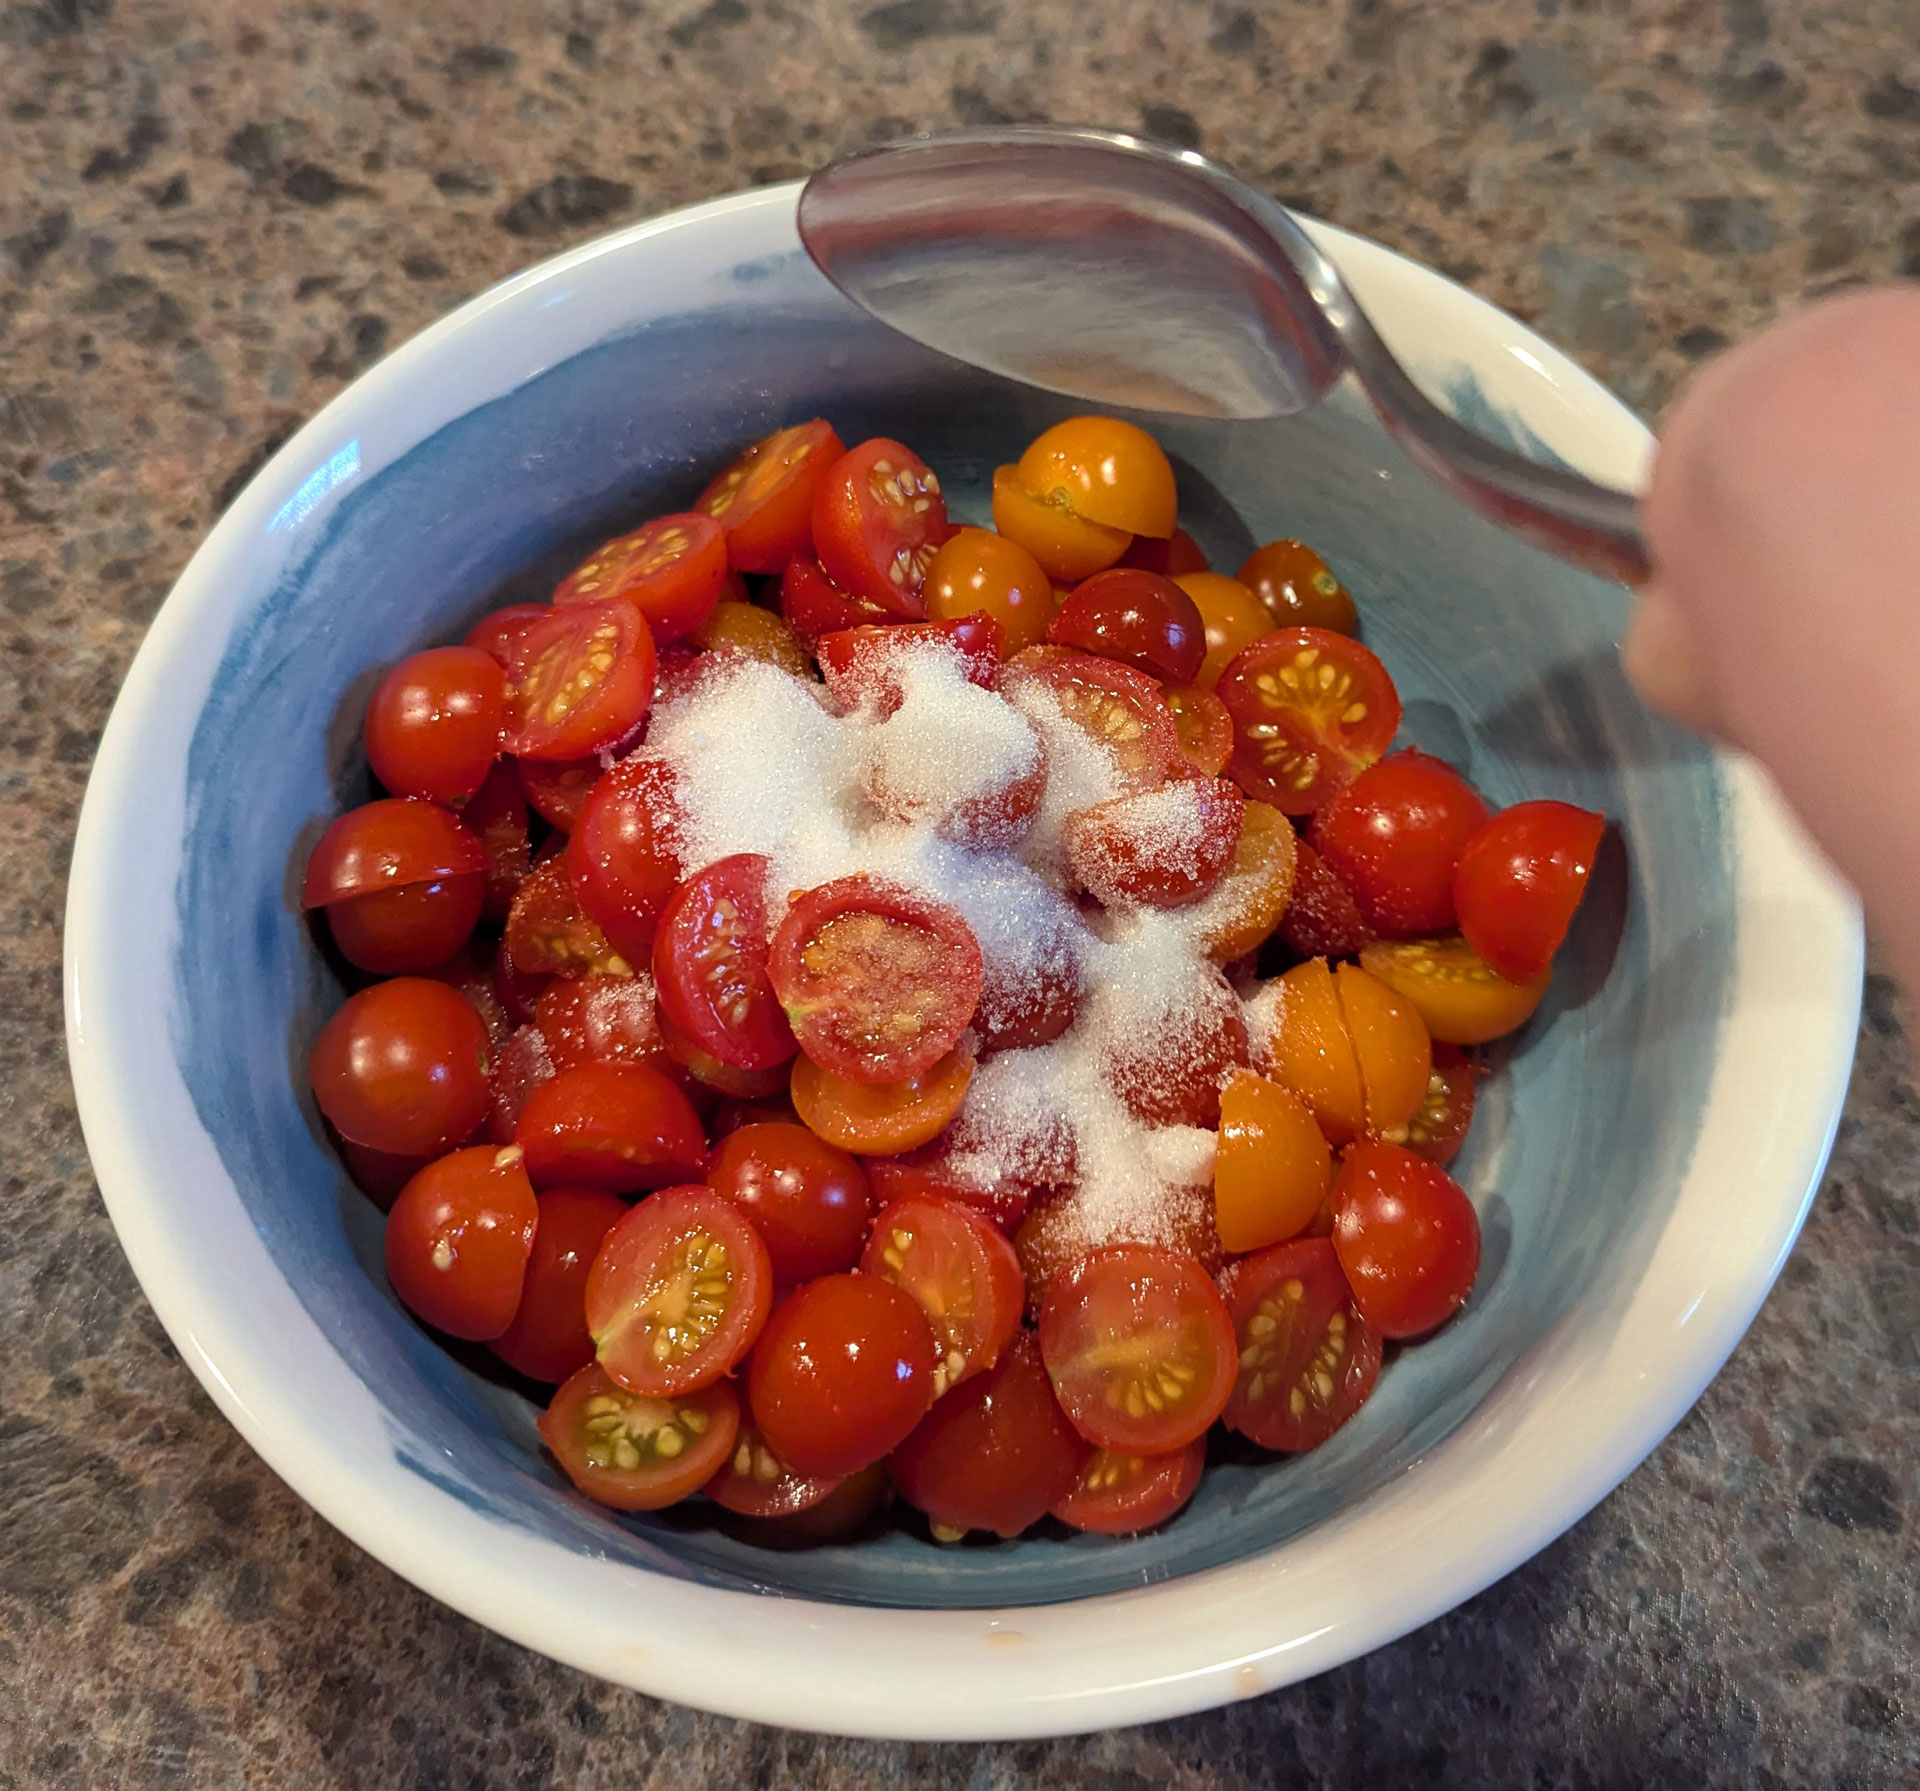
Next, do the same thing with salt. It is possible to overdo it with the salt so exercise a bit more caution than with the sugar, but don't be afraid to apply it liberally. I just pour it straight from the container. Measure with your heart (that would be your metaphorical heart; don't worry about your biological heart here unless you're making this regularly, which you shouldn't be). Stir up the mixture and let it sit for a couple minutes for the salt and sugar to soak in.
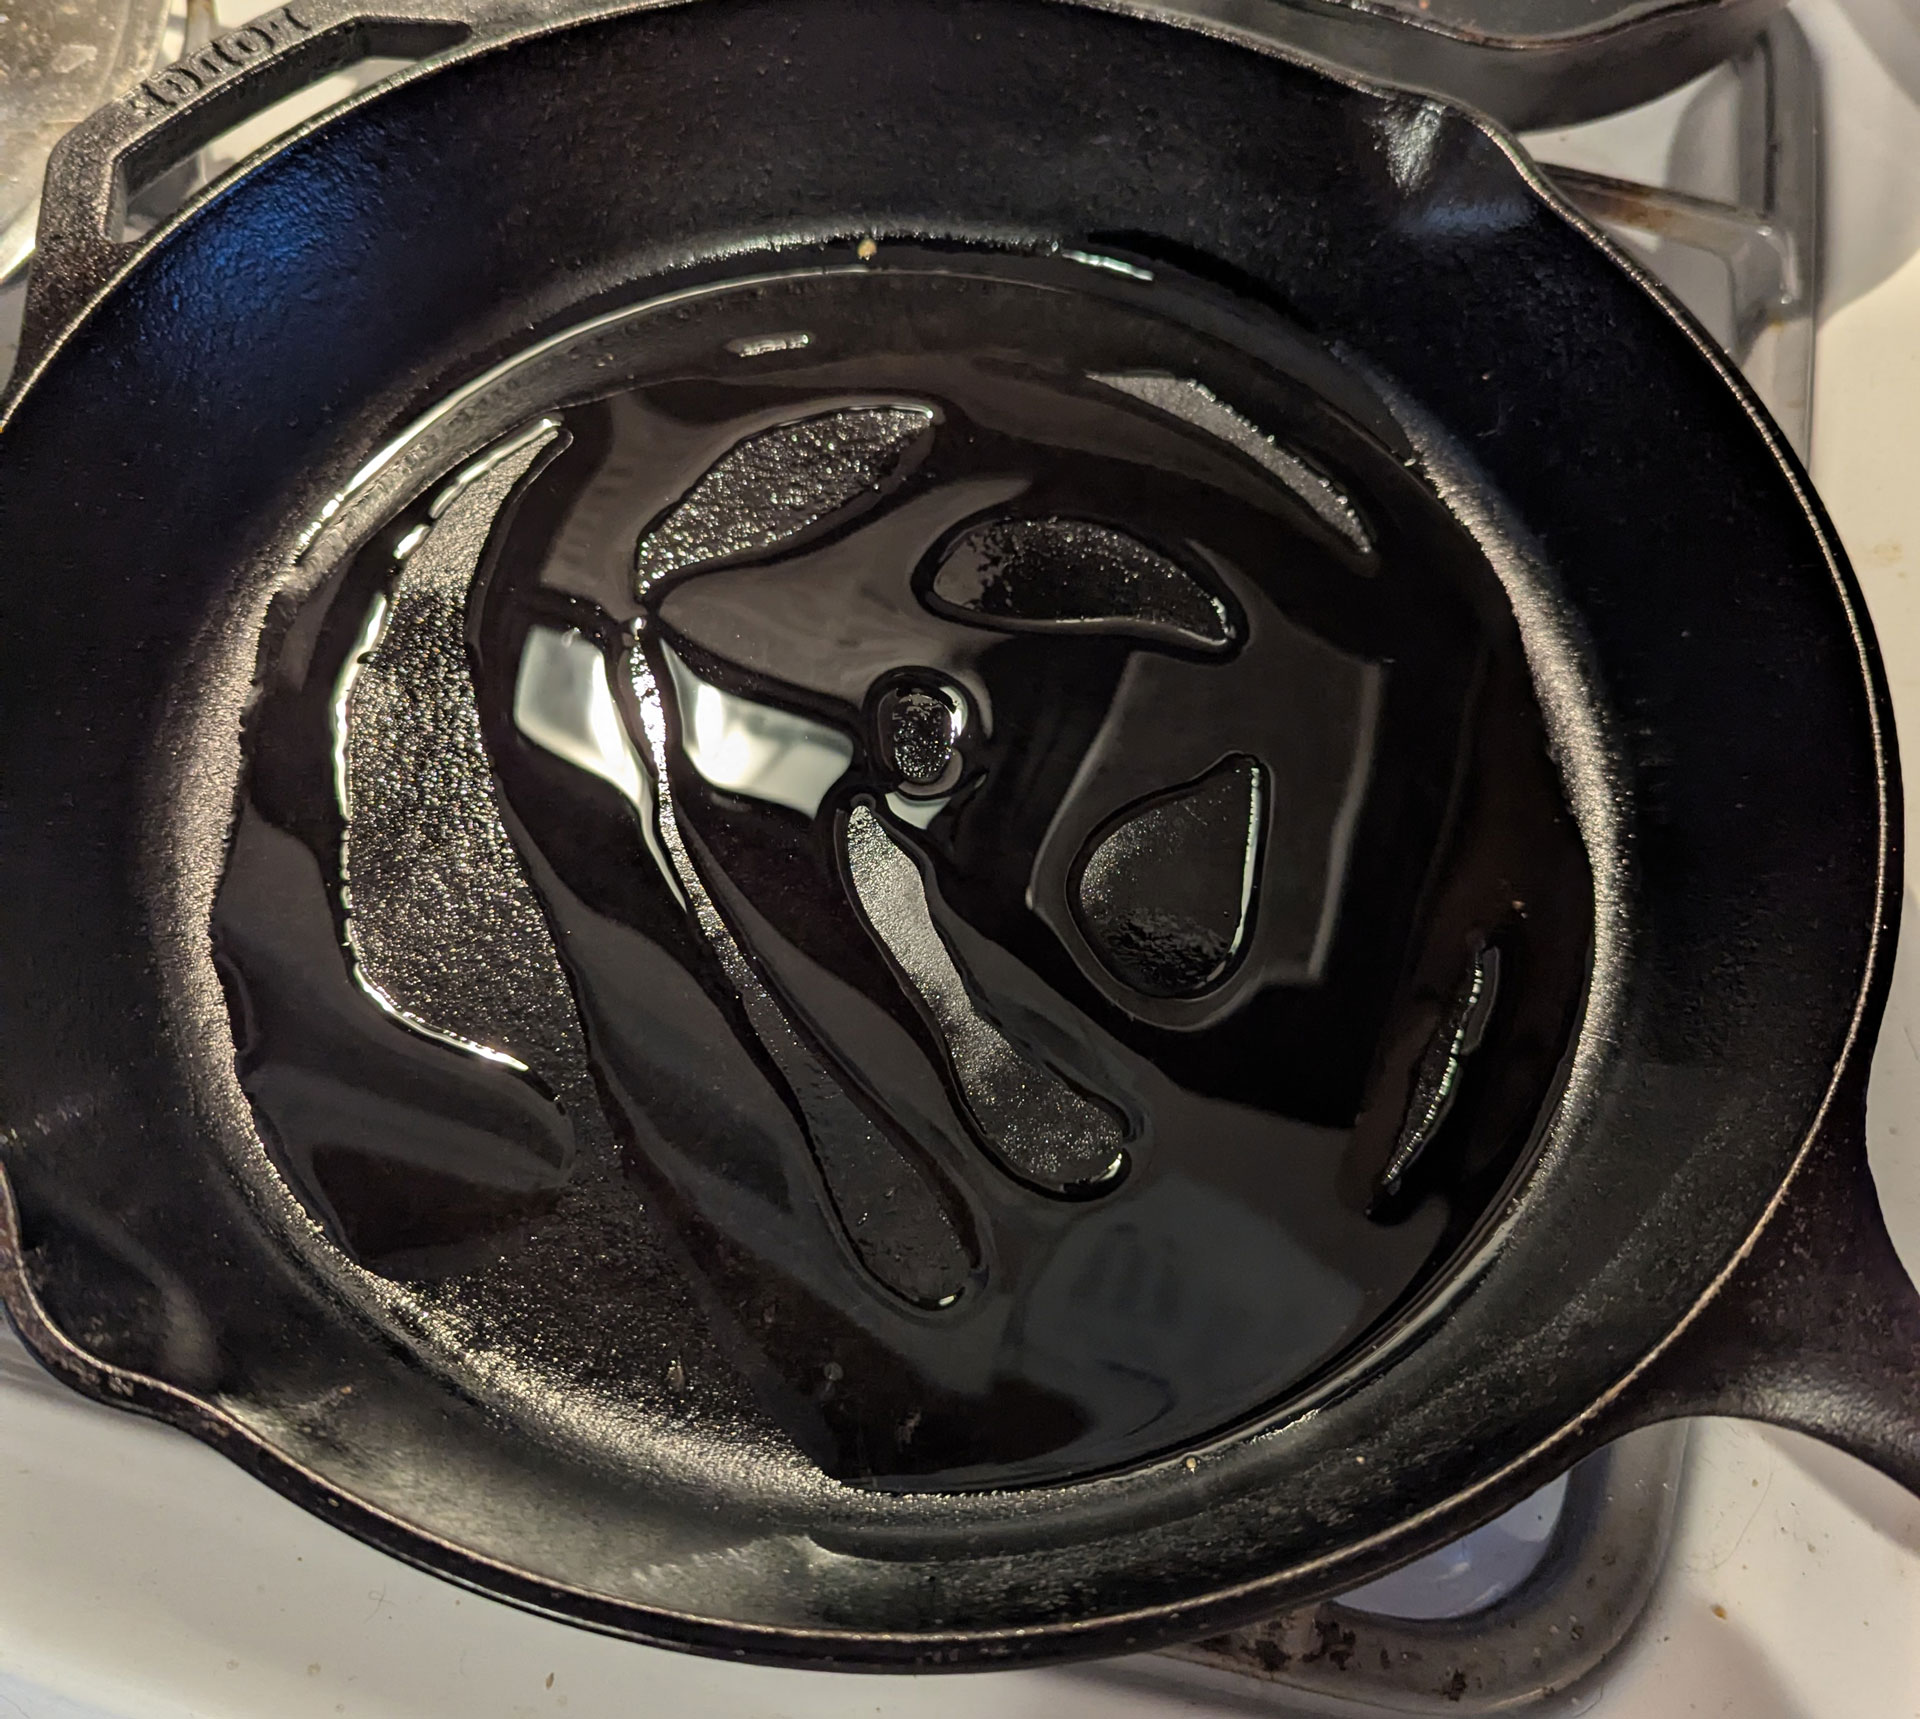
Now, heat a pan and add some olive oil. You also have to measure this with your (metaphorical) heart, but I've never heard anyone say "this has too much olive oil in it." You'll need enough to coat the pan and prevent the tomatoes from sticking, but not so much that you're deep frying the tomatoes.
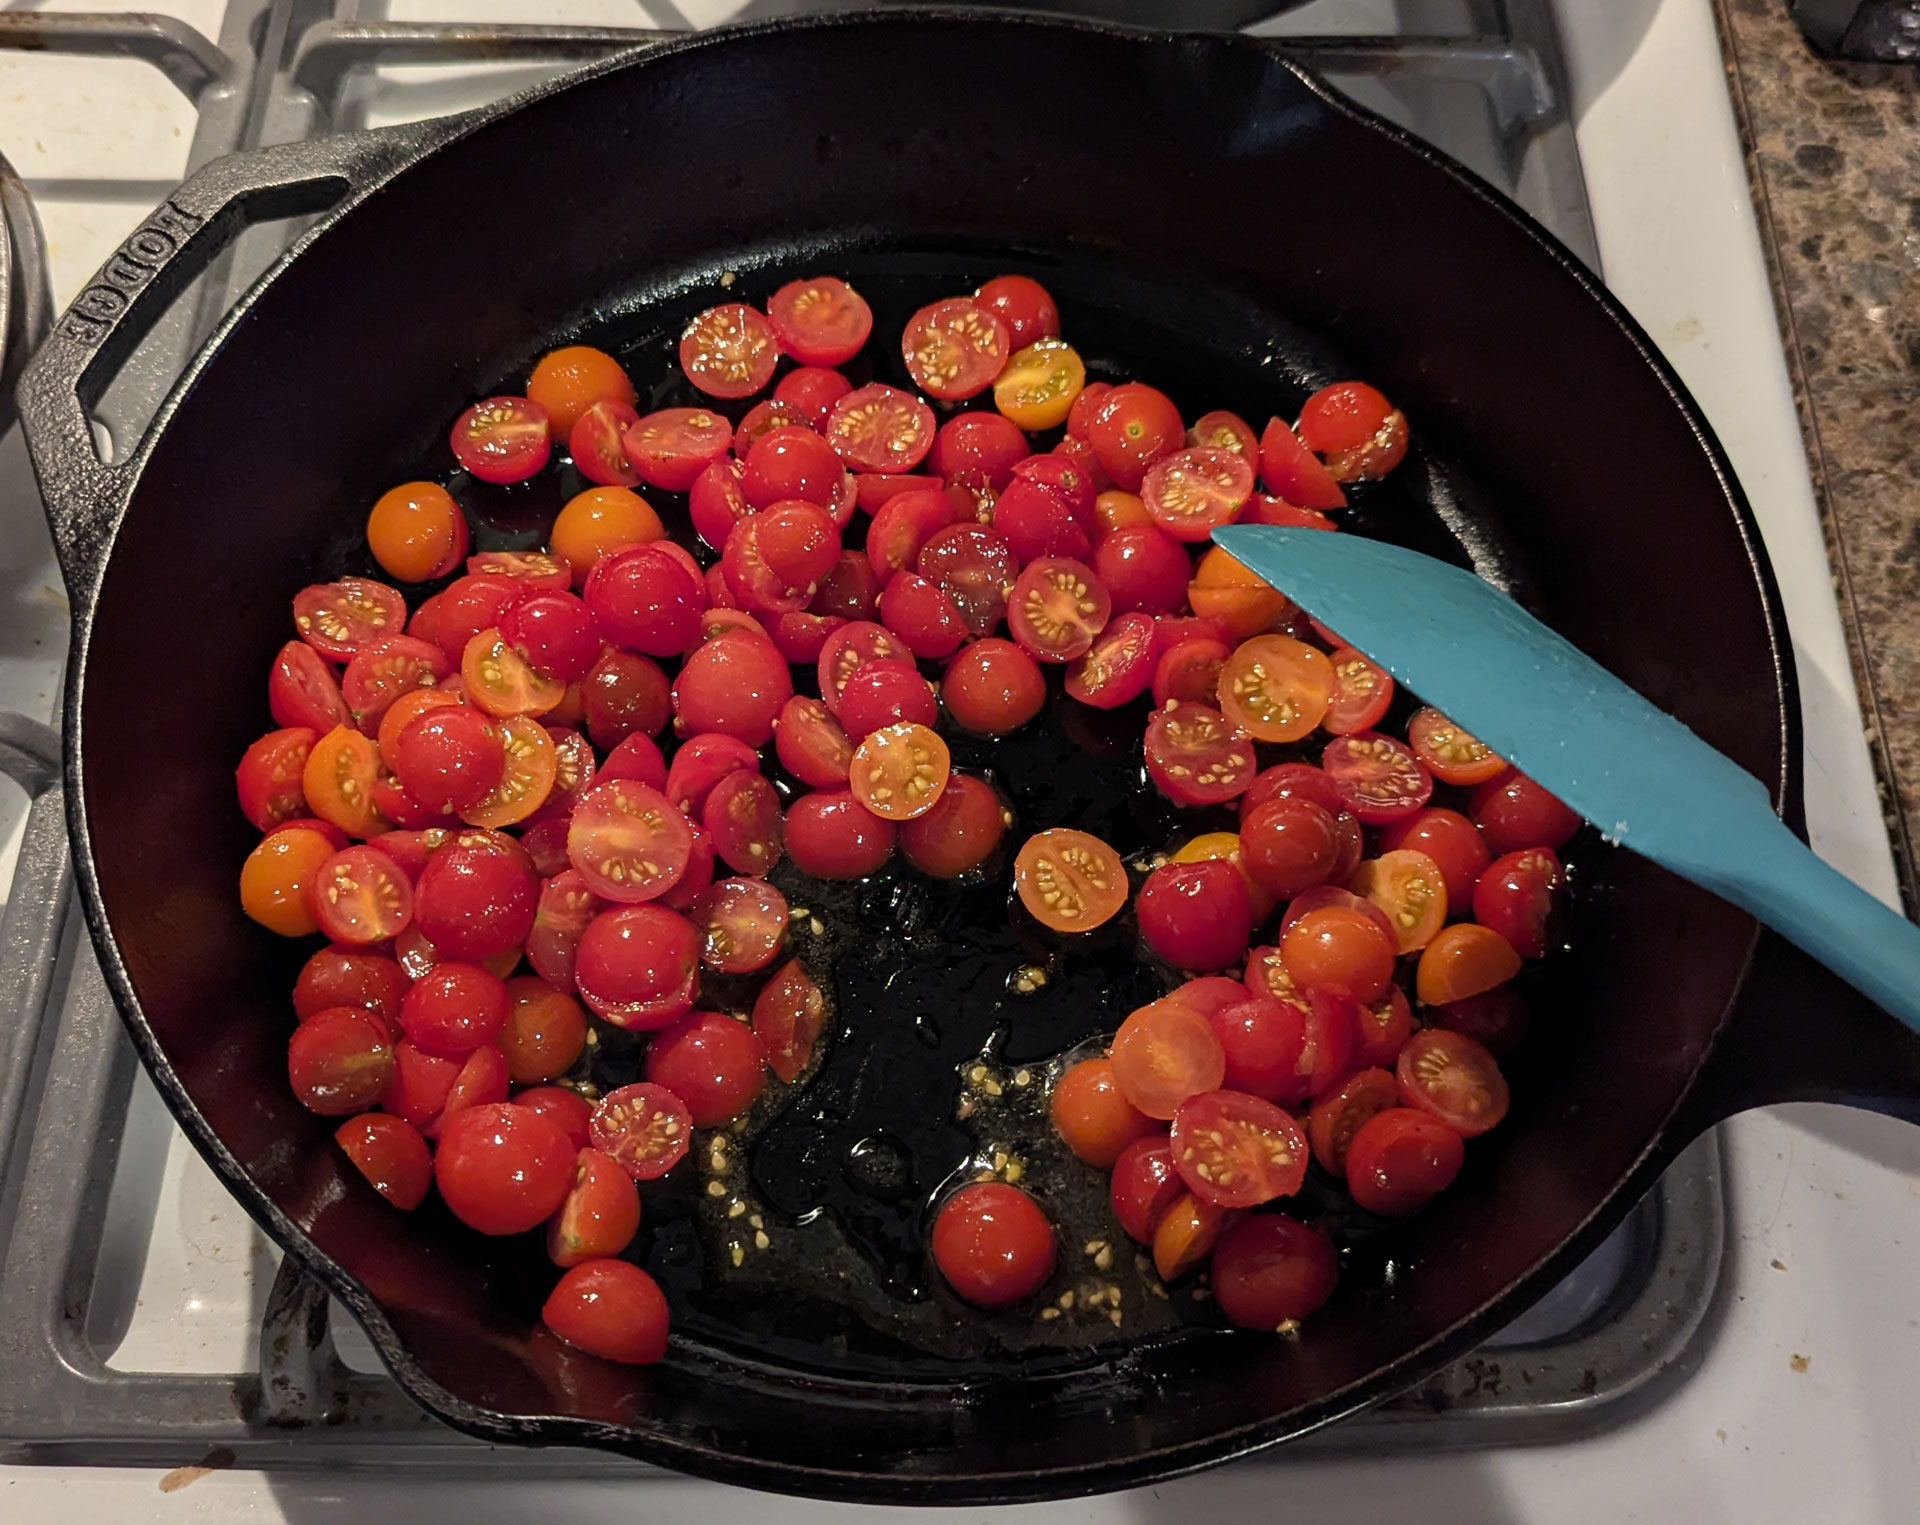
Cook the tomatoes on a medium heat until they have turned into sauce. It will totally depend on your stove, but it will probably take about 15 minutes. Your goal is to have a thick sauce; it will still have large chunks, but much of the liquid will ooze out of the tomatoes and get bubbly. Stir them around every once and a while to make sure they're not sticking and to cook them evenly. There's a pretty large margin for error here so don't worry, but remember that unattended cooking is the leading cause of housefires.
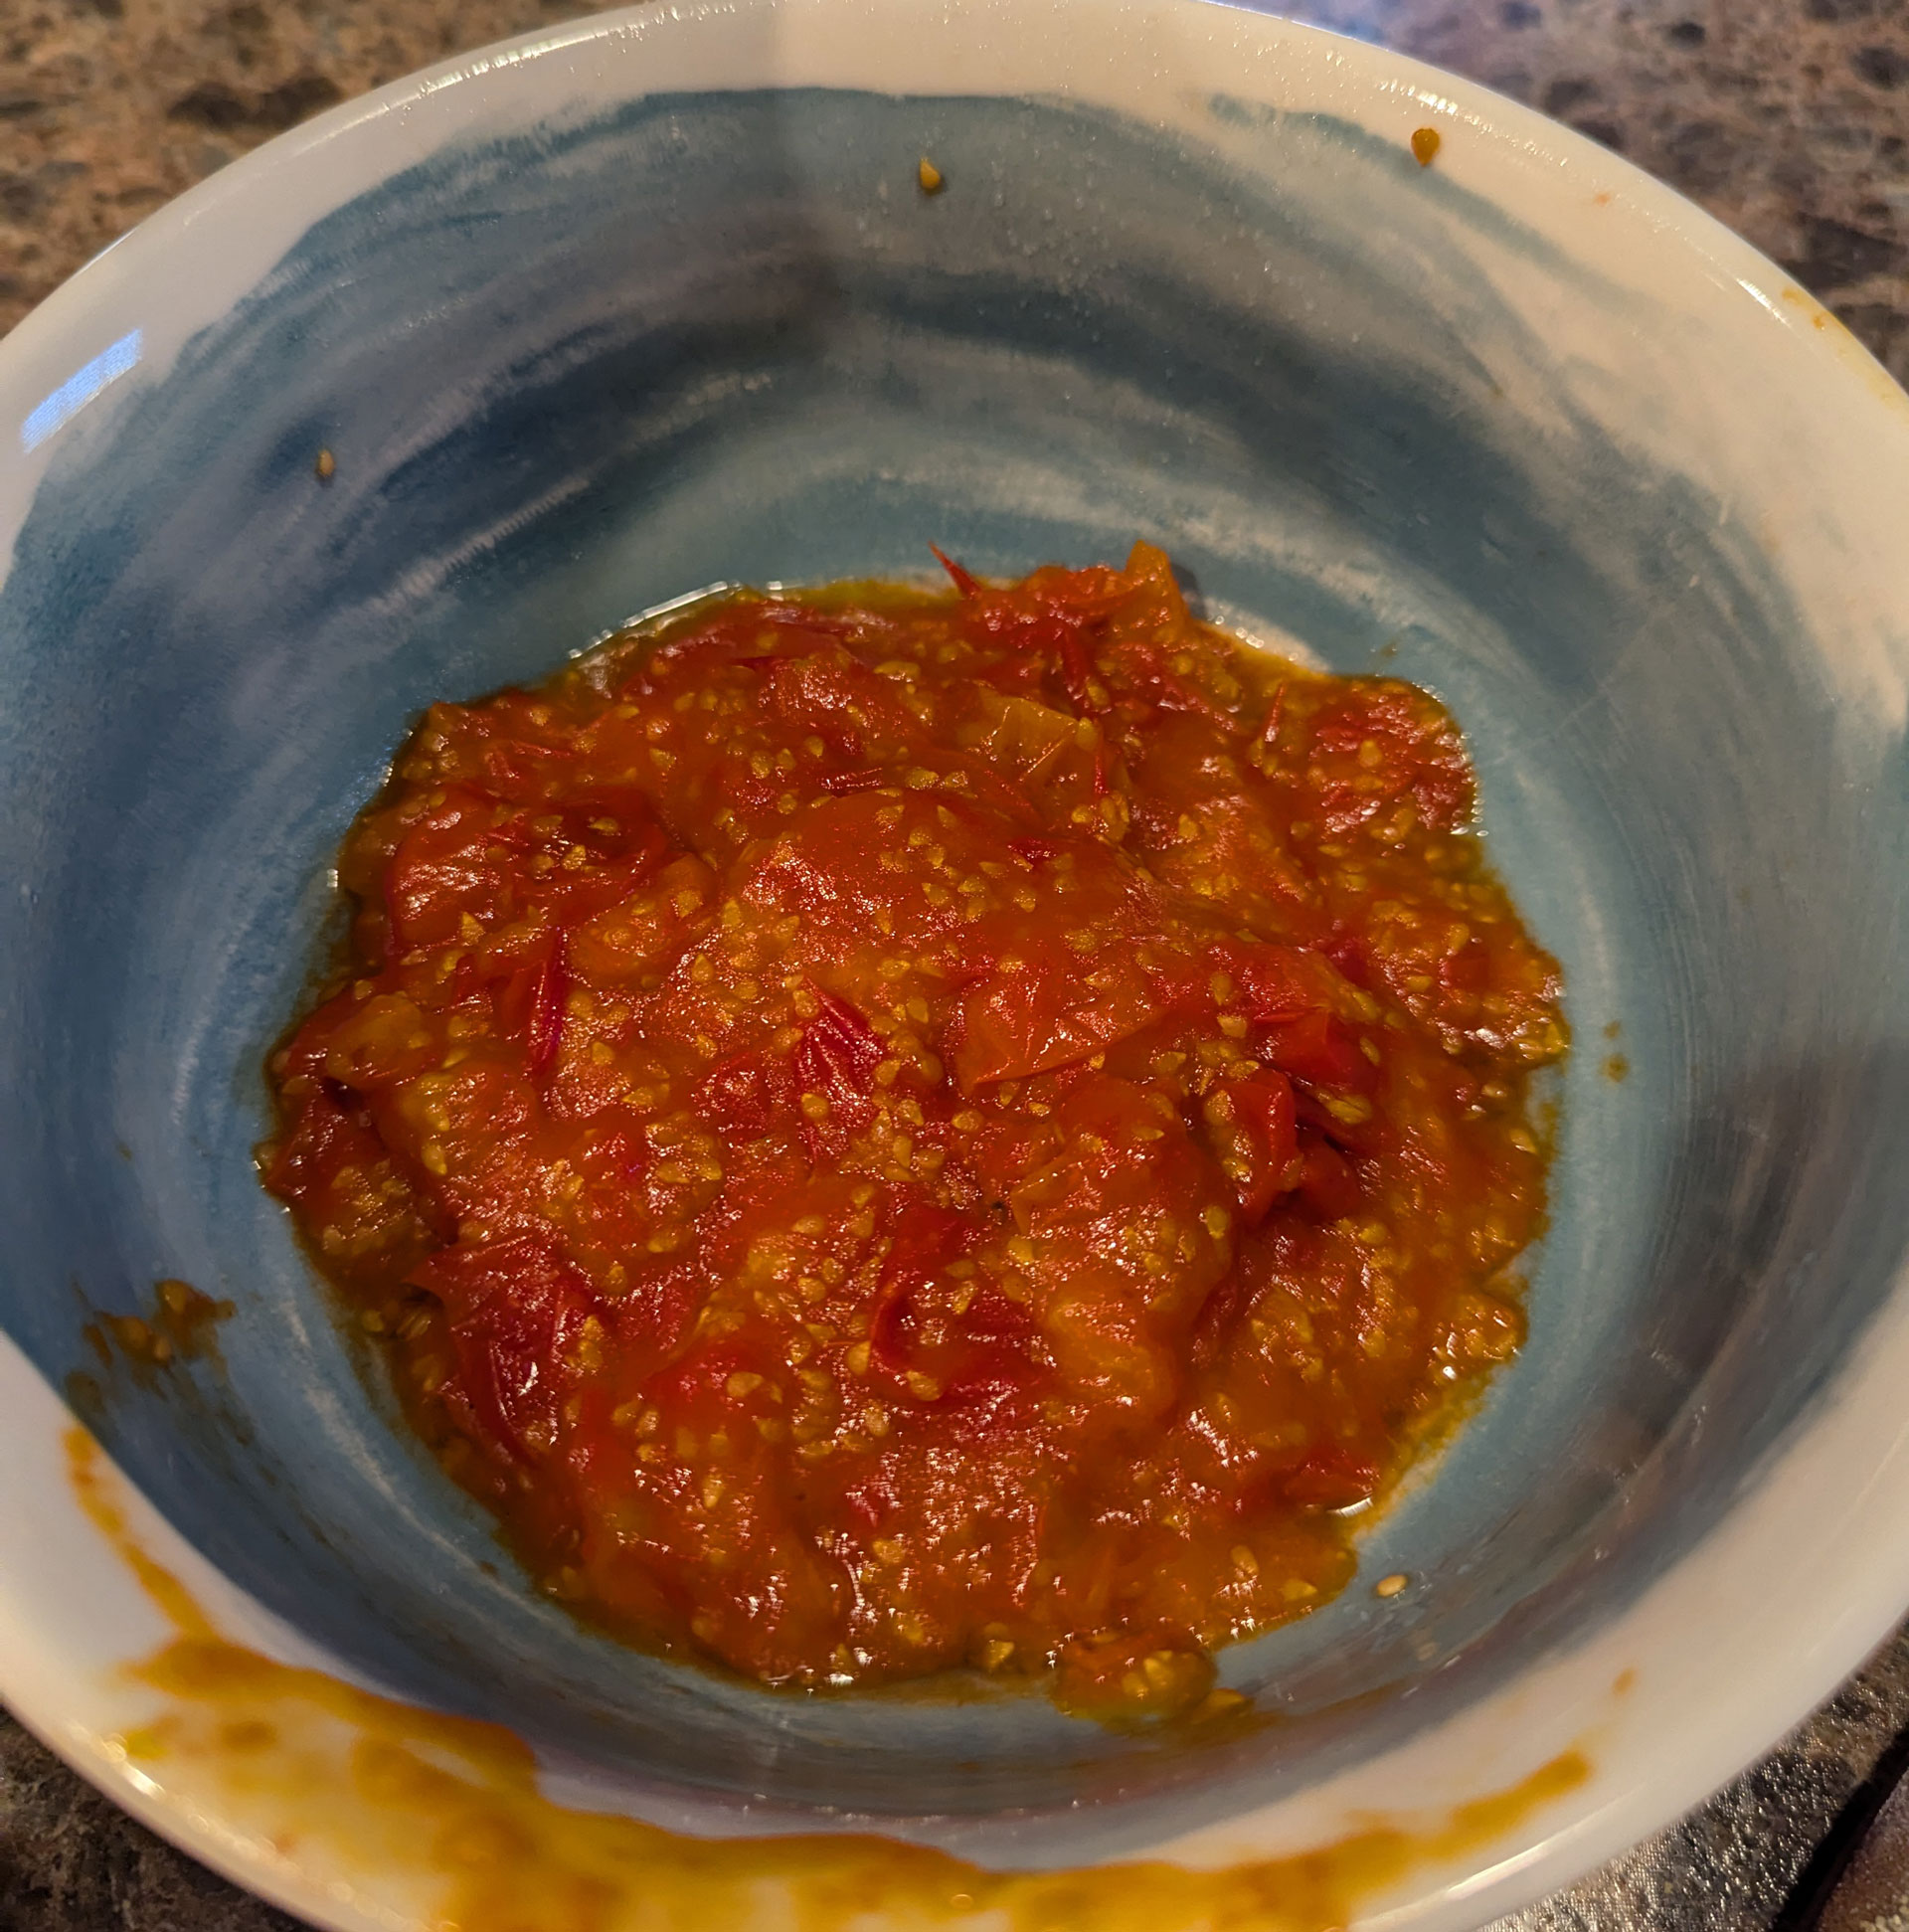
In the end, you'll have something like this. The seeds and skin are unavoidable and part of the texture. They will be soft enough that you don't notice them once they're in the pizza. Taste the sauce at this point to confirm what you already suspected: that it is delicious.
Now, assemble your pizza. Apply the sauce evenly to the risen dough. Next, add toppings if you want any. I typically make this as a simple pizza with no additional meats or veggies, but this is down to individual preference. In my opinion, the Cudahy-Style Pizza has enough going on and can stand alone, but you're welcome to add anything you want at this stage. I do recommend fresh basil, but if you're doing that, don't add it yet.
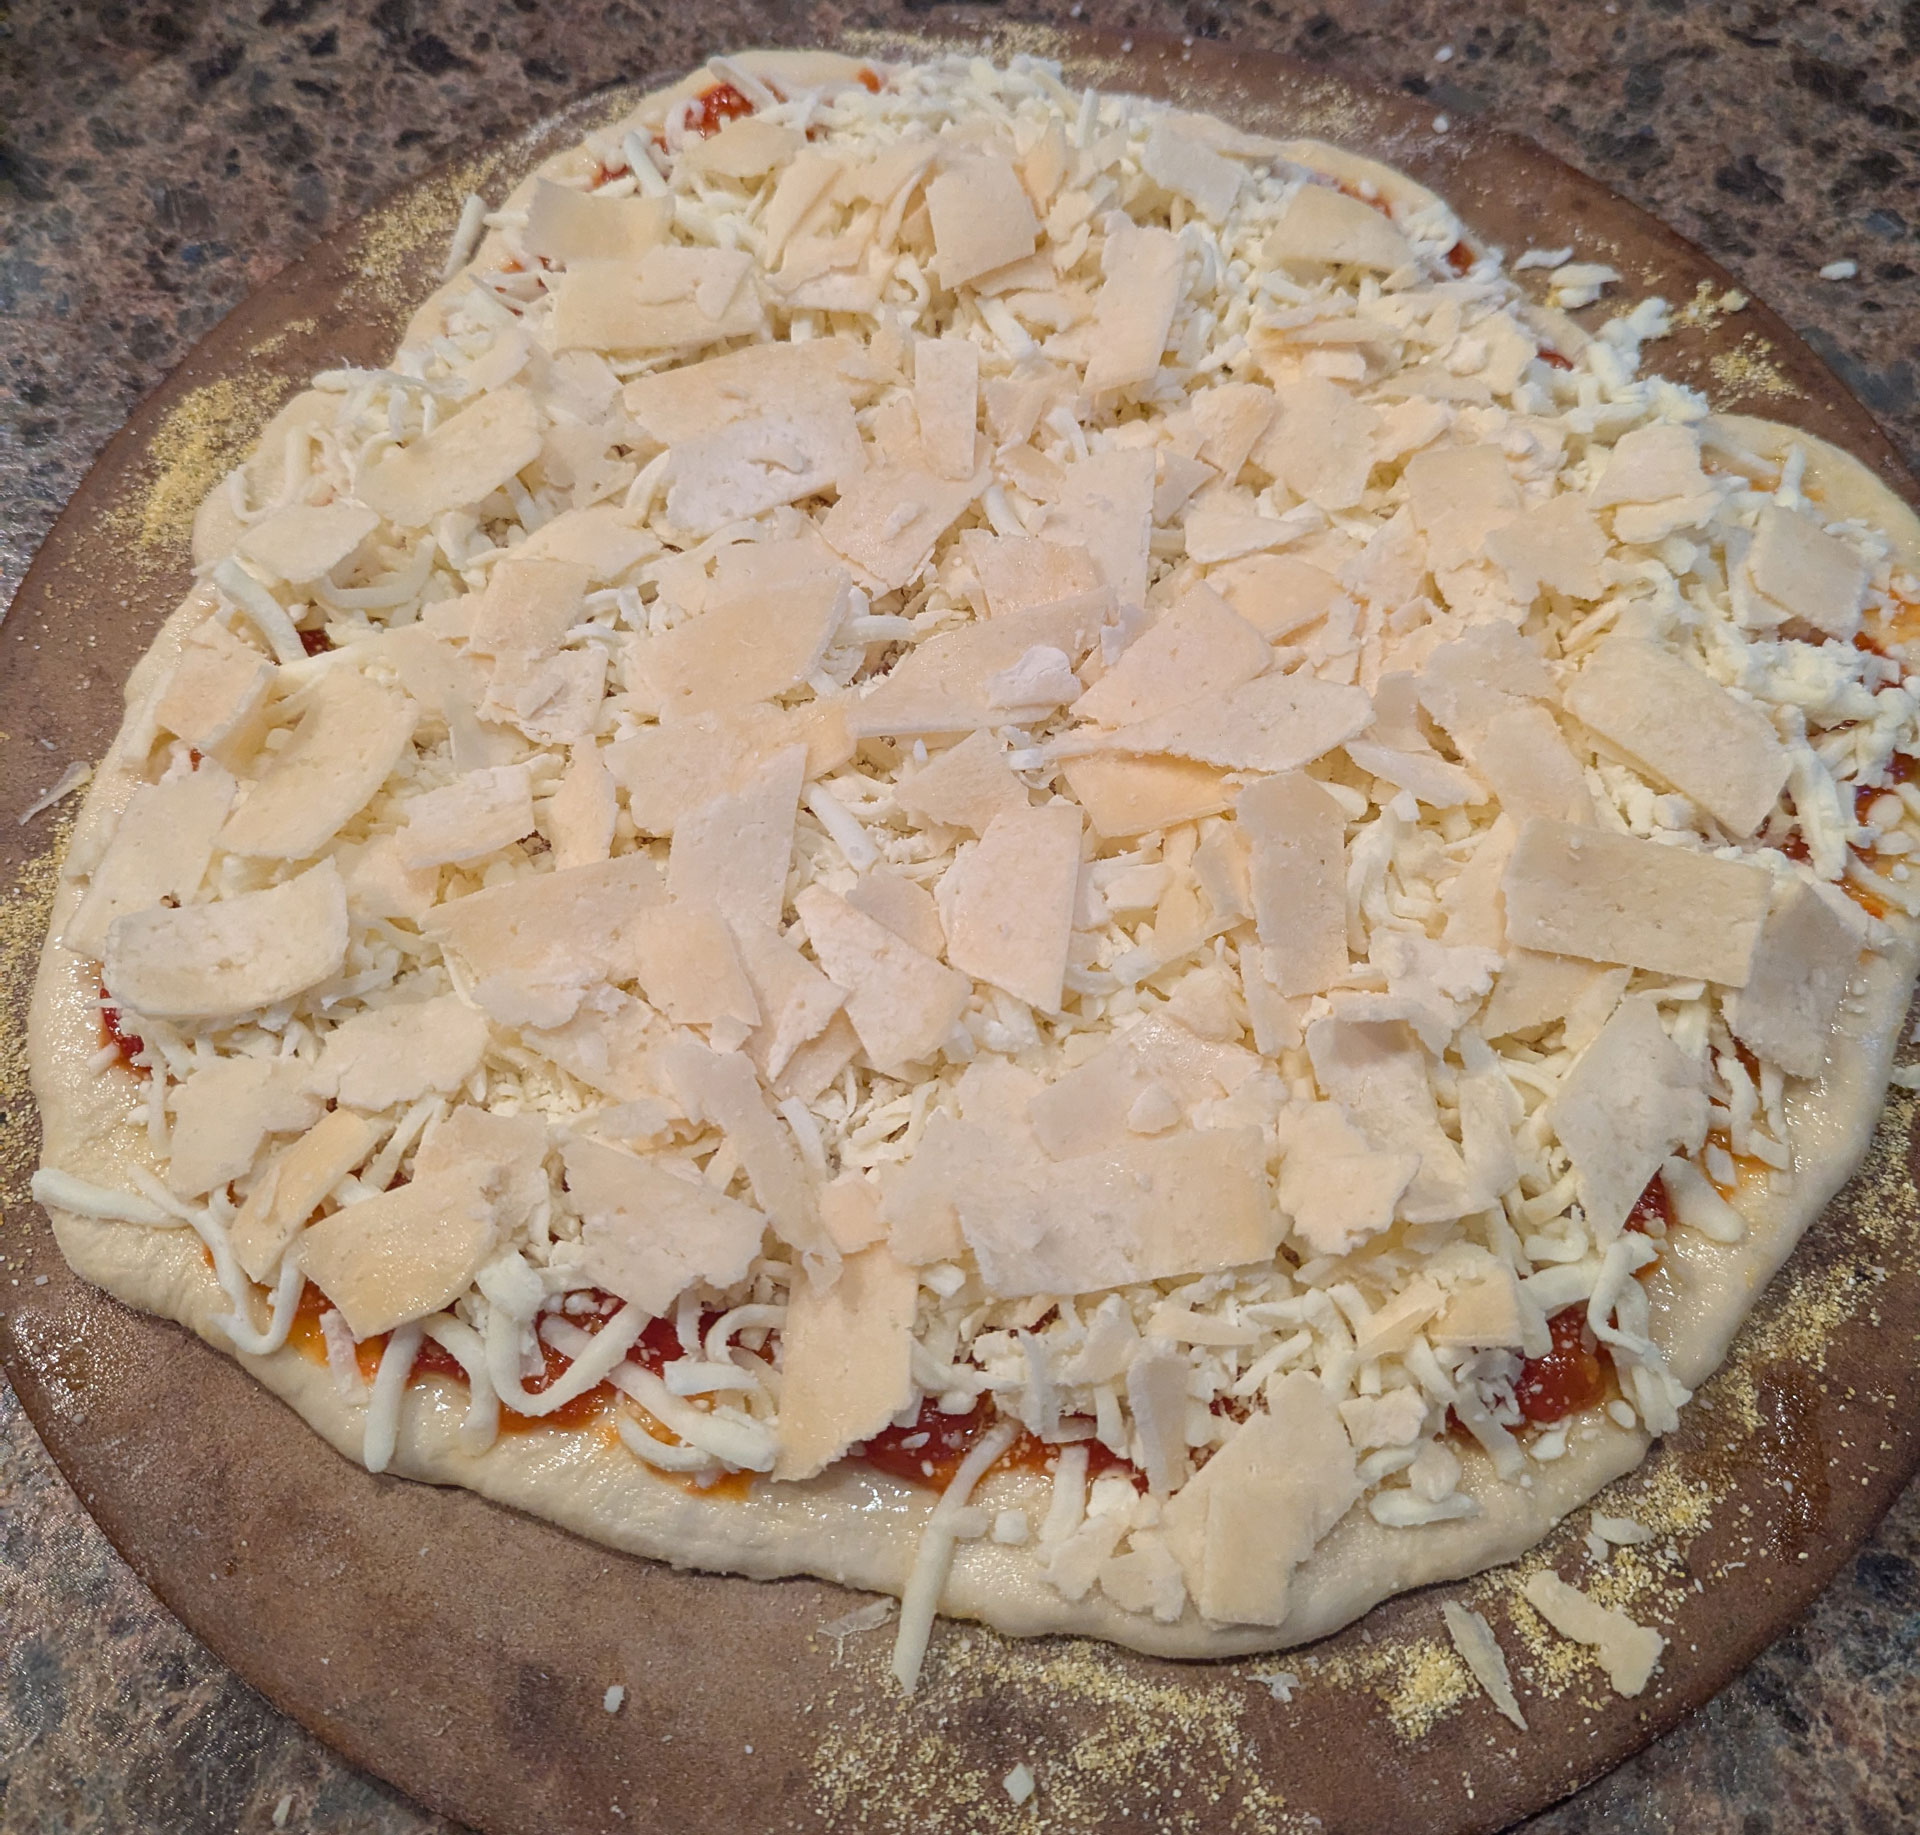
Now, begin adding your cheeses. The cheese is another thing you're going to have to measure with your heart. My household is blessed with an abundance of all types of cheese, and in true Wisconsin fashion, I'm going to say you can't really overdo it at this stage. Cheese #1 is feta, in small chunks. Feta is an accent cheese here, not the main attraction, so try to sprinkle it evenly but you don't need total coverage. Next, add your primary cheese: this should be primarily mozzarella, but a "pizza cheese" blend is also a good option, if somewhat redundant. Do not skimp on the cheese.
For our final cheese, you will need shaved strips of parmesan. You can either shave it yourself from a block (a vegetable peeler works well for this), or you can buy pre-shaved parmesan from the store. If you're looking for the optimal parmesan experience, I recommend picking up a hunk of the giant parmesan hanging from the ceiling at Tenuta's Deli in Kenosha, WI. The goal for the shaved parmesan is to get as even of coverage as you possibly can, to form a solid, thin layer on top. This is easy to do if you have long thin strips, since you can lay them over the pizza like some kind of parmesan pizza mummy. It's slightly harder to get even coverage if you're using pre-shaved parmesan, but the pizza will turn out just fine if you do it this way, like I did here:
Once your pizza is fully assembled, pop it in the oven and cook it until it's done. For guidance on this, refer to the recipe for your pizza dough, but the important thing is to check frequently and take it out when it's done. Remember that unattended cooking is the also leading cause of burnt pizza.
A note about basil: how and when to put fresh basil on a pizza is a contentious topic, especially if you're cooking an American pizza in a standard home oven. I skipped the basil when making this particular pizza, but I do recommend it. My personal recommendation is to take your fresh basil leaves, crush them, and put them on after the pizza is done cooking, but return the pizza with the crushed basil to the still-warm oven for a couple minutes so the basil can soften up and sink into the cheese; this will give you a nice middle ground between crunchy raw basil, squishy cooked basil baked into the cheese, or crispy burnt basil on top of your pizza.
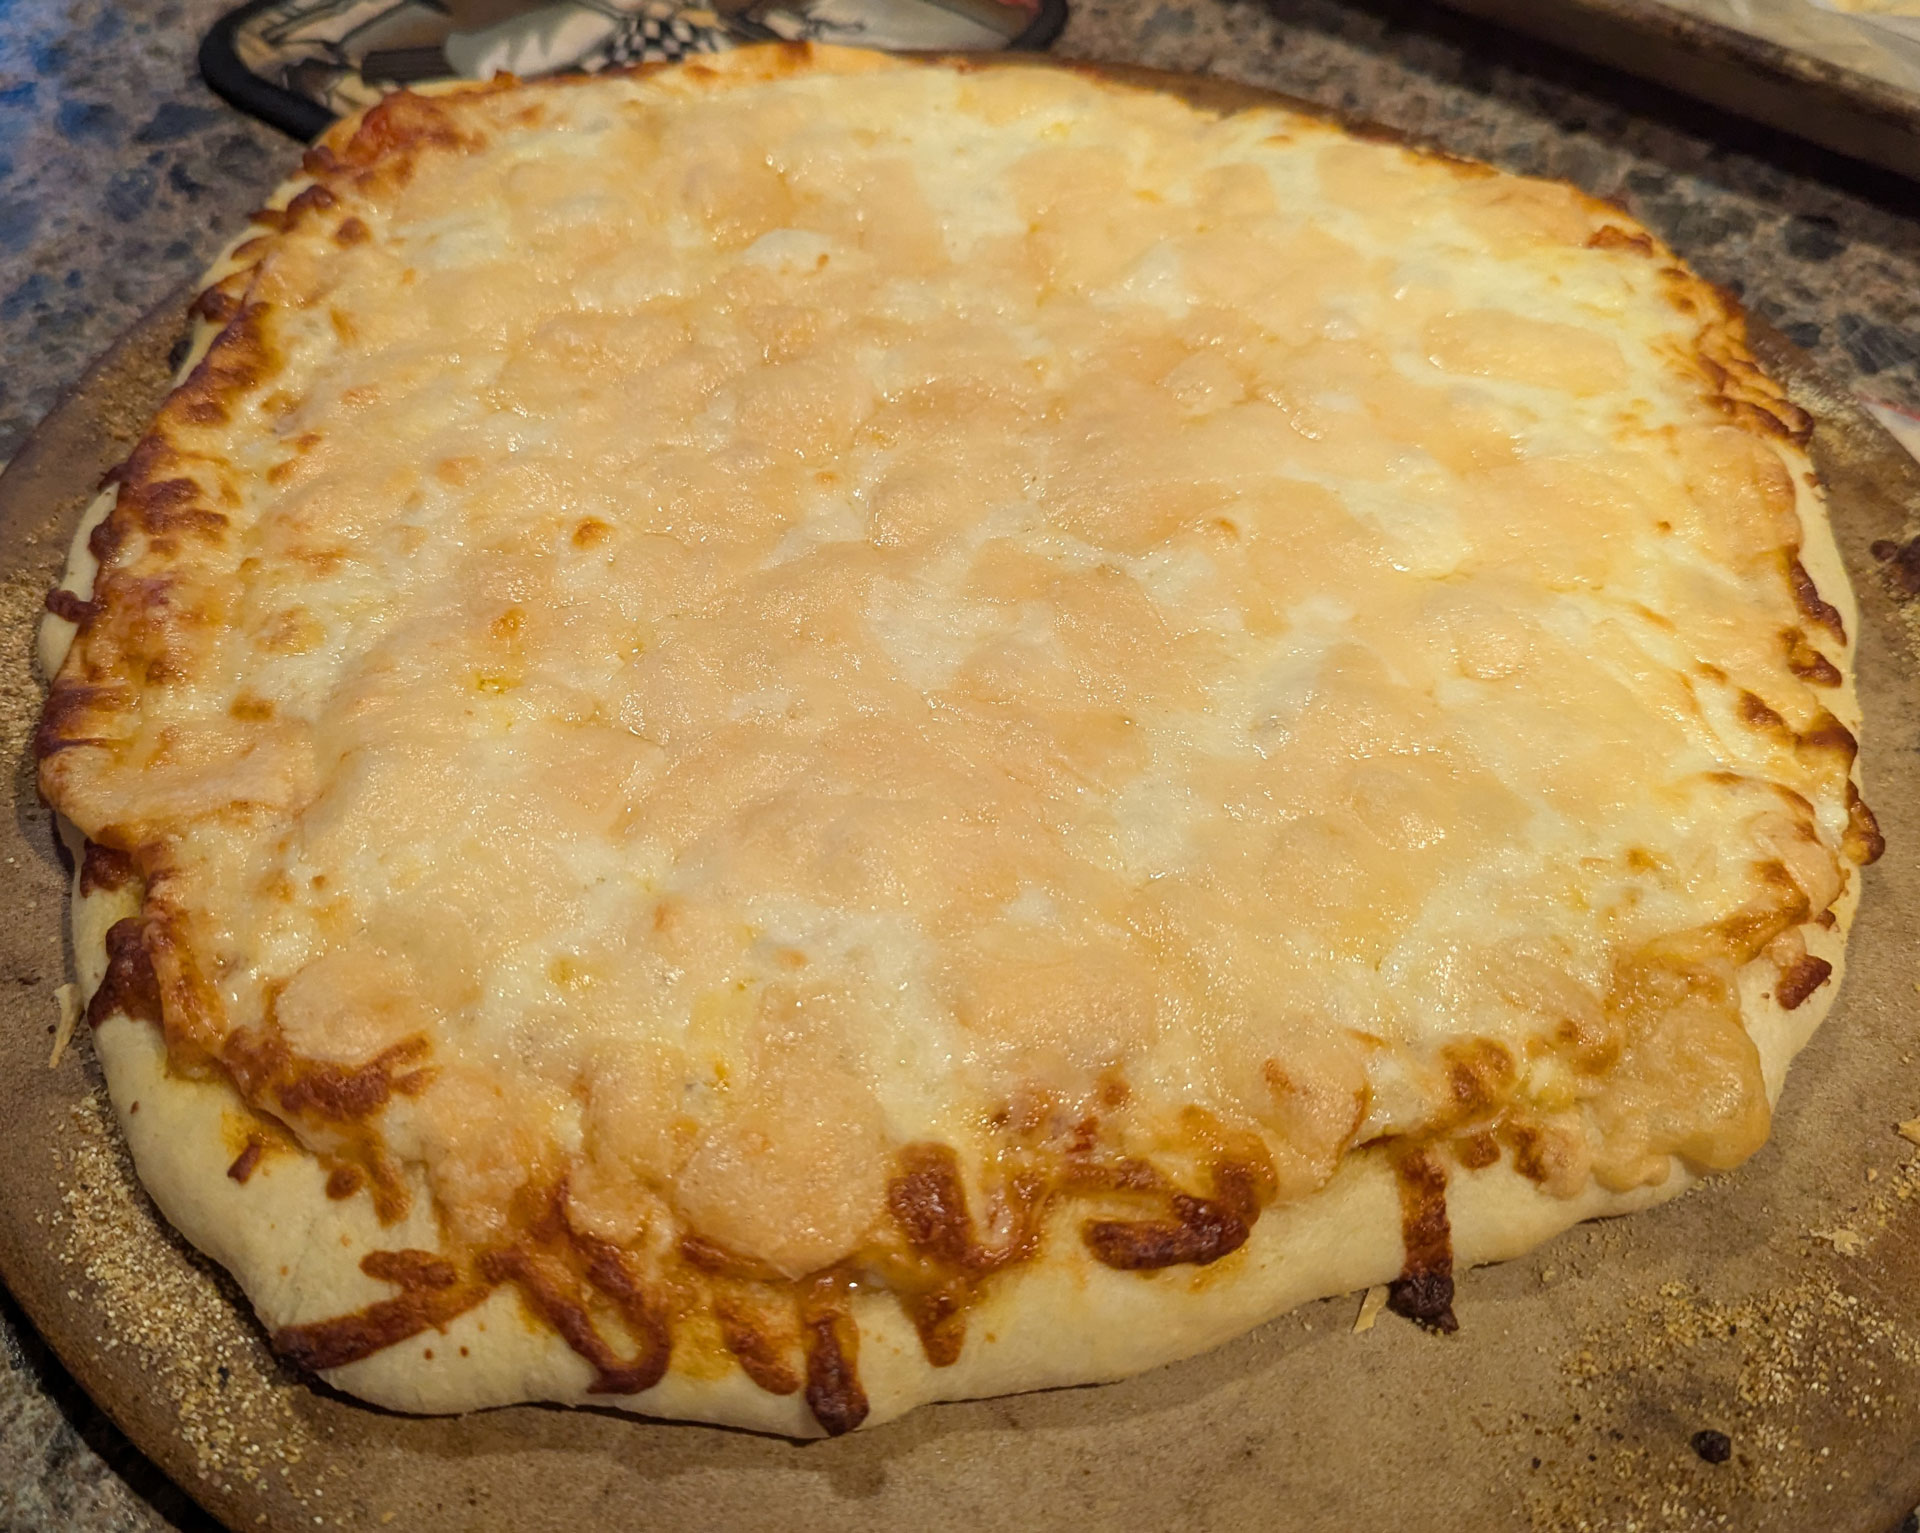
And there you have it, a Cudahy-Style Pizza. Let it cool a bit before cutting it. One advantage to the Cudahy-Style Pizza's parmesan layer (besides the flavor) is that it helps to keep the cheese intact when you slice and bite it, since it's not too melty or stringy. It pairs nicely with a balsamic fig glaze, but you may find it's sweet enough without it.
Ingredients:
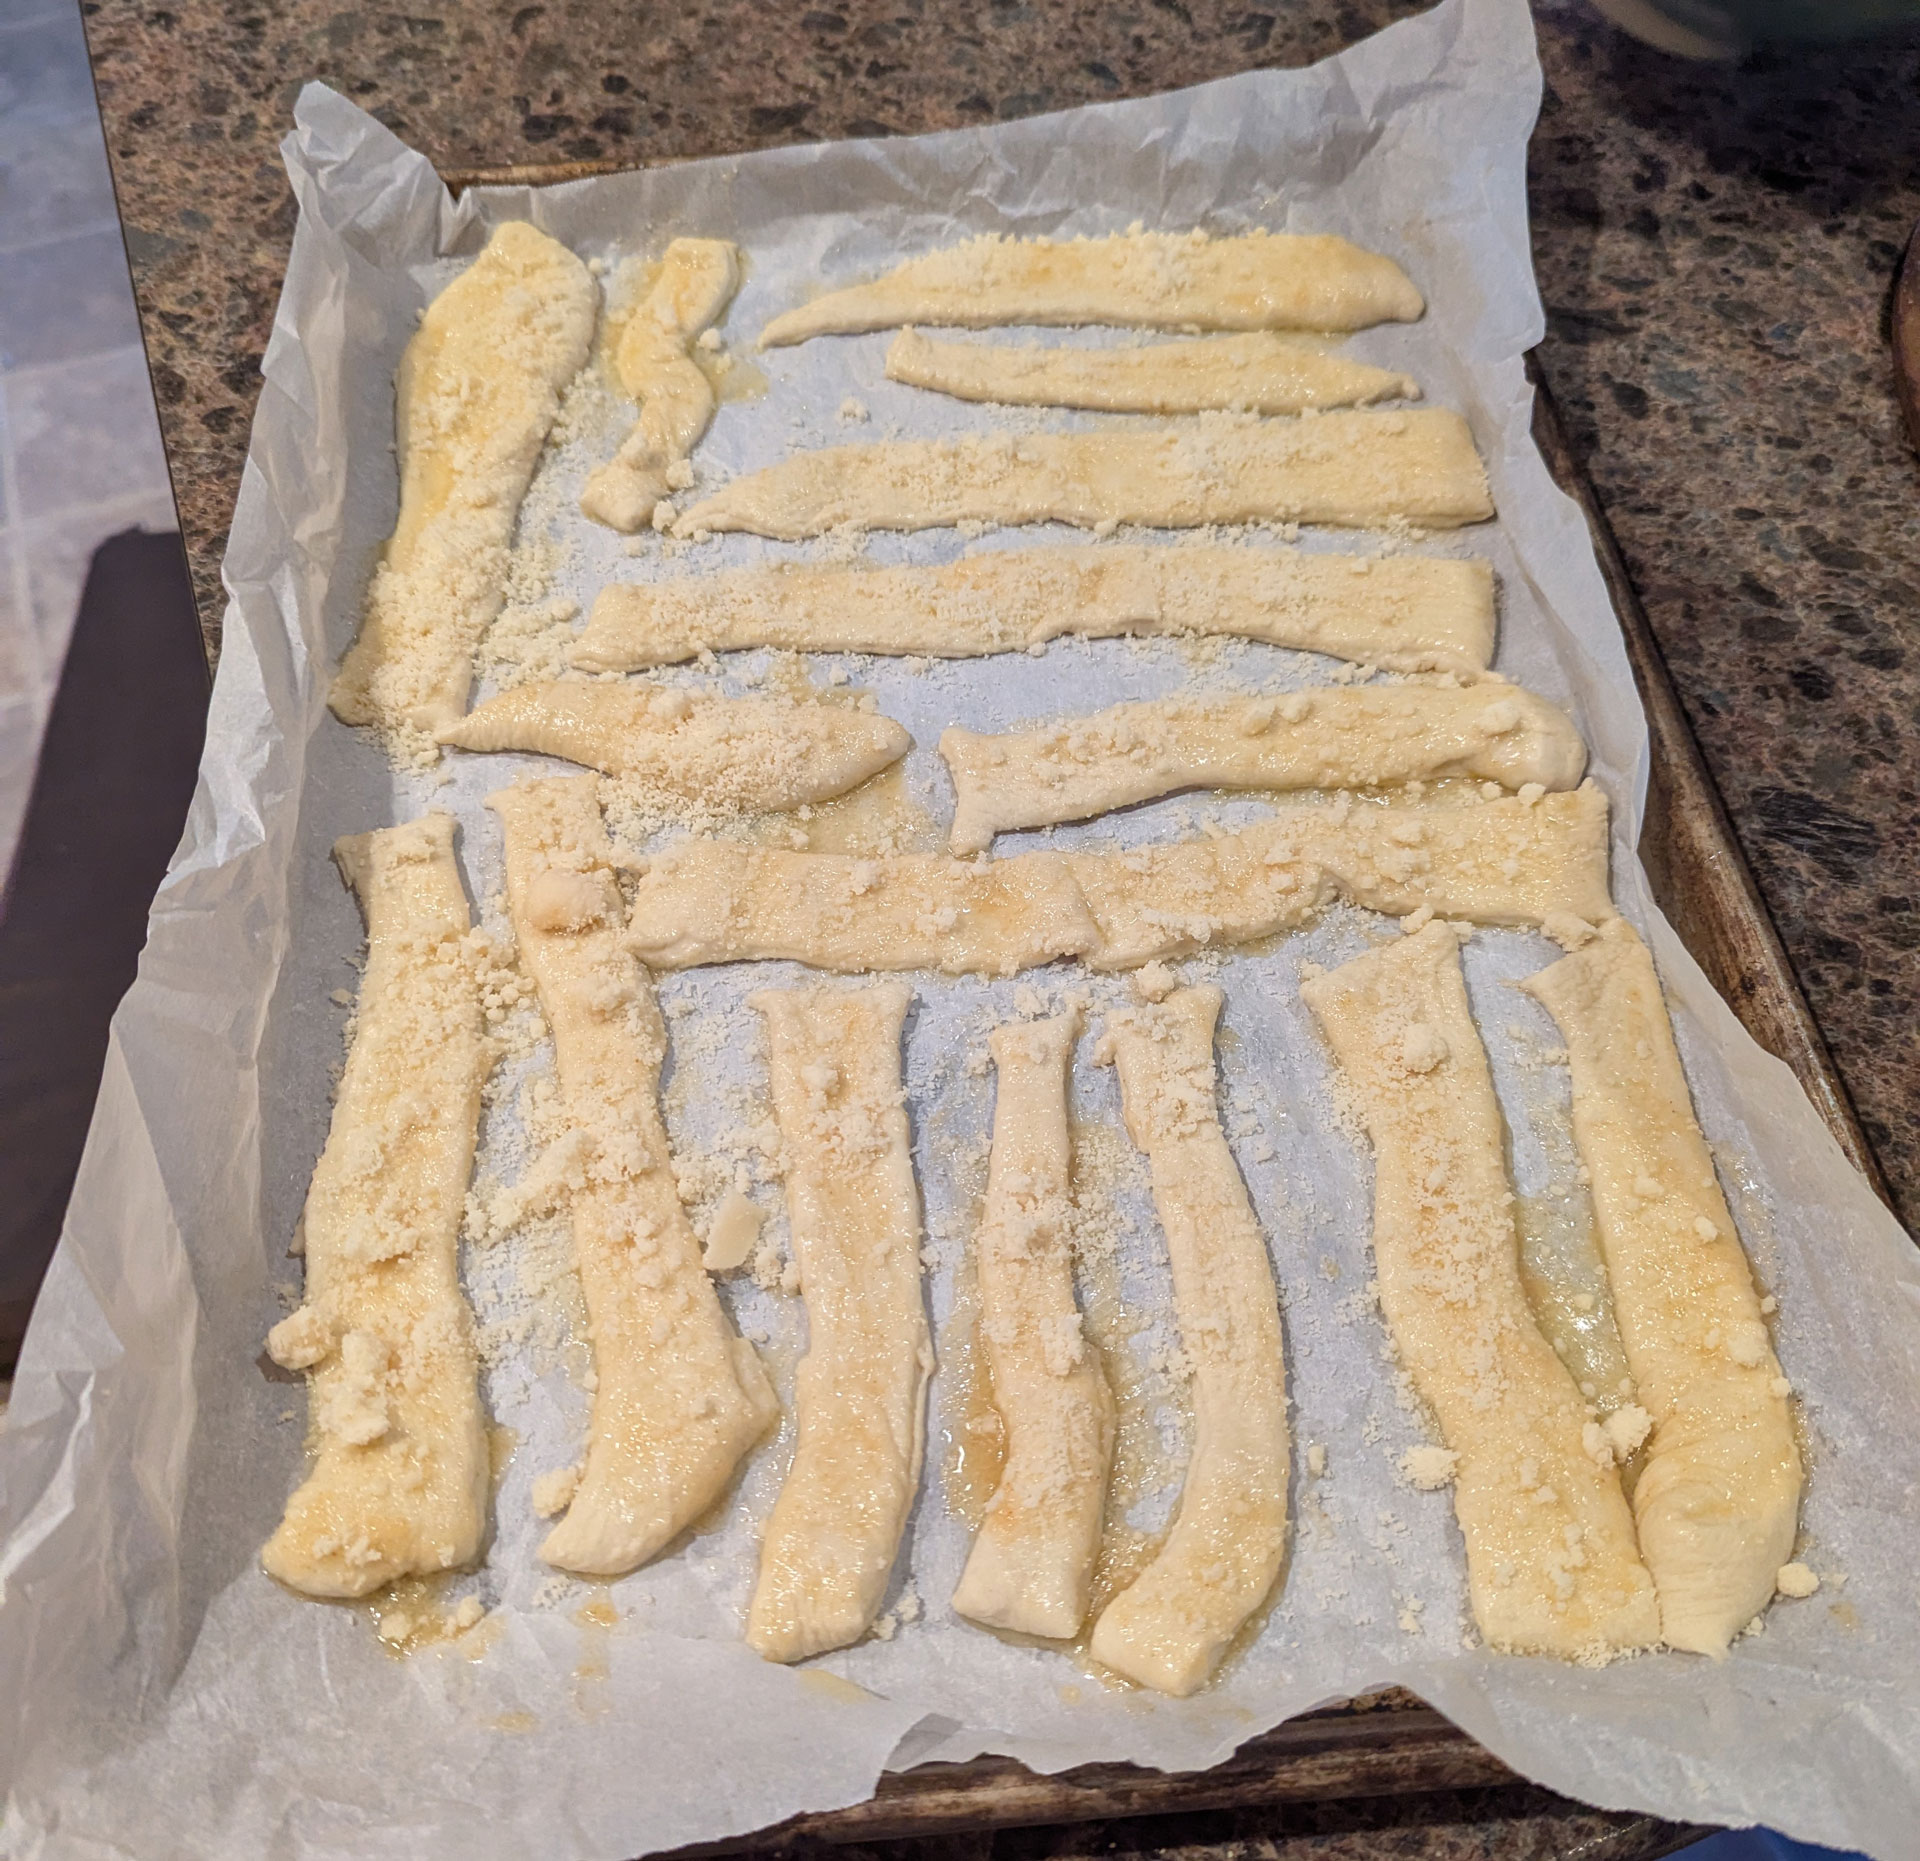
If you want to make Funny Stix, be sure to make more dough than you need for your pizza. Then, when preparing your pizza, reserve some for the stix and roll it out into a flat rectangle. Cut the dough into long, thin strips, and place them on a pan lined with parchment paper.
Brush them with melted butter (how much you need will depend on how many stix you are making) and sprinkle them with garlic powder and parmesan cheese. I used powdered parmesan cheese, but you could try it with the same shredded stuff you put on your pizza. If your butter is unsalted or you are sodium deficient, feel free to sprinkle some salt on there, too.
Pop the stix in the oven with your pizza, but be sure to watch them carefully. They won't take nearly as long as the pizza to cook. Remember that unattended cooking is the leading cause of burnt Cudahy Funny Stix.

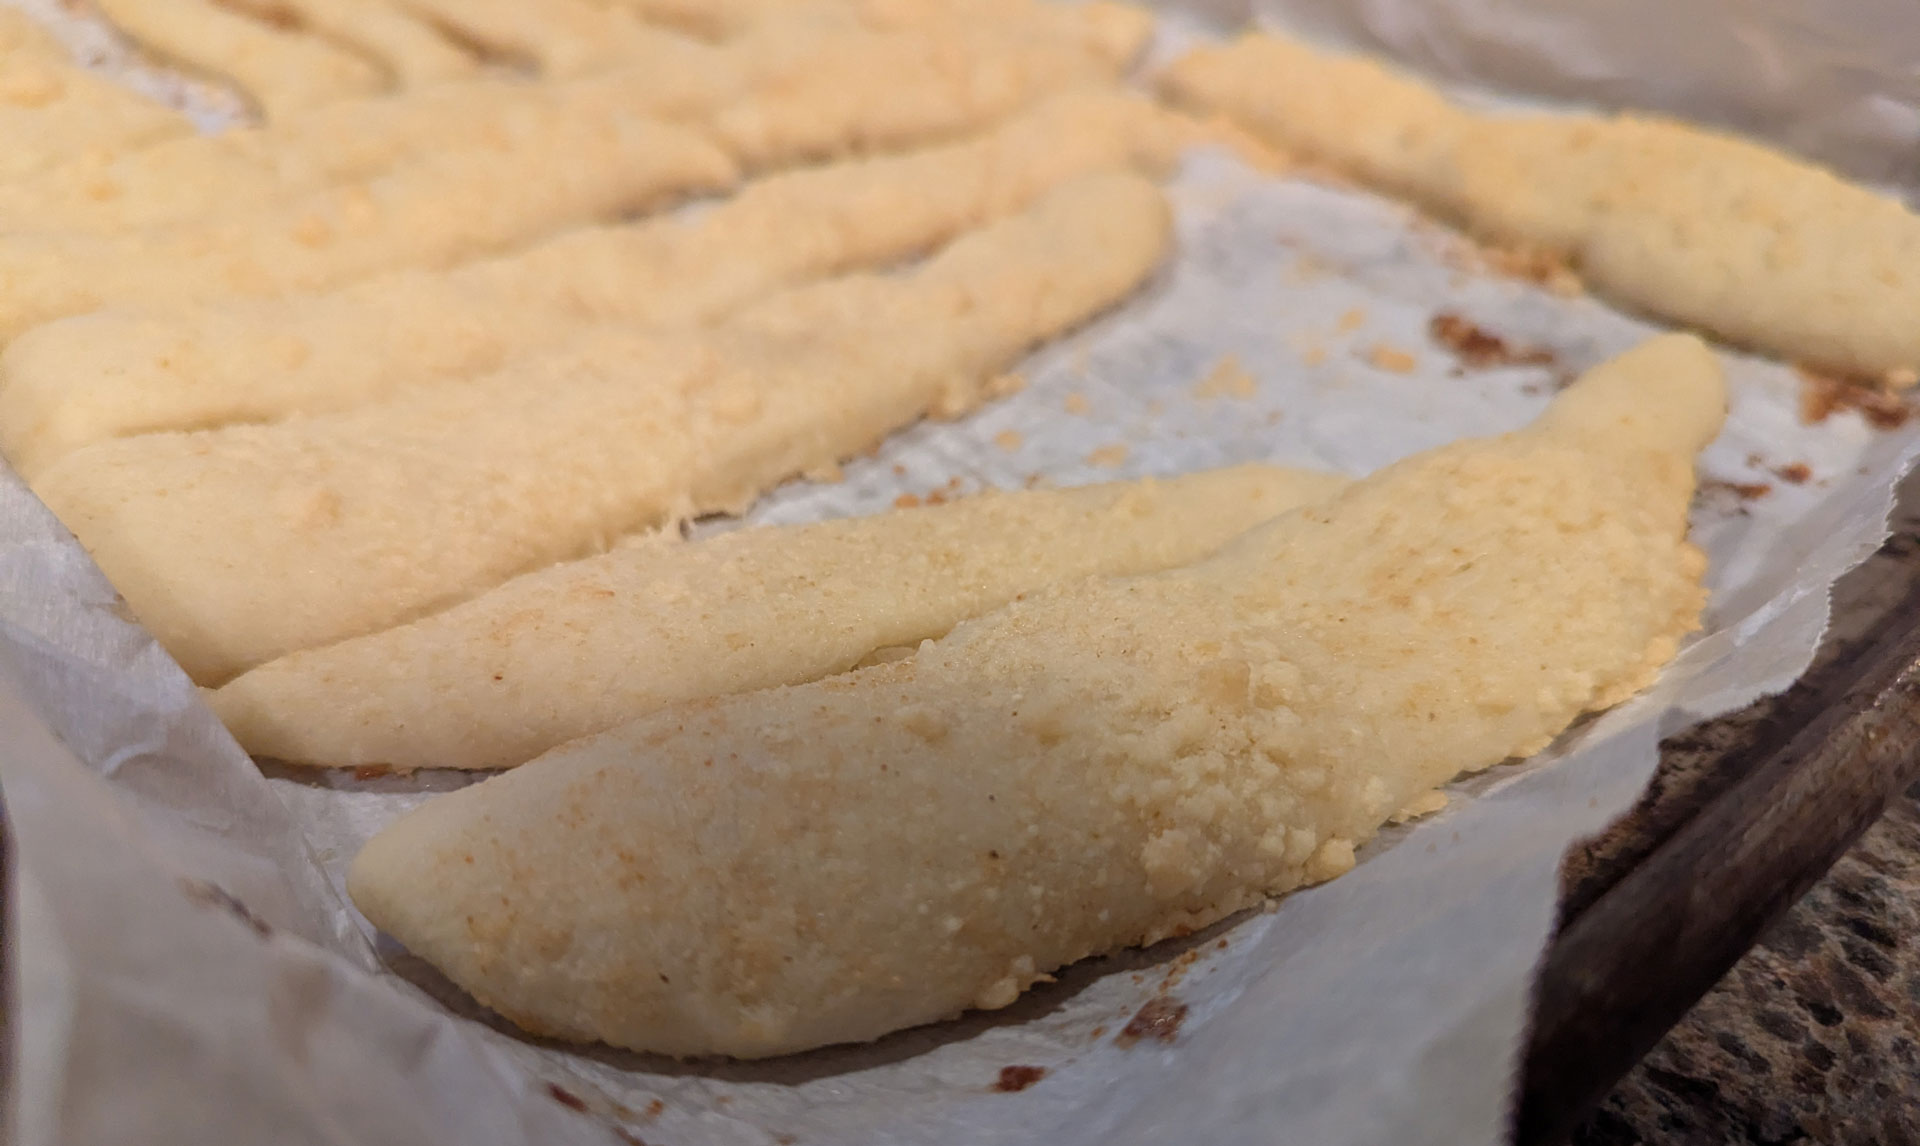
There they are, Cudahy Funny Stix: because no meal of bread and cheese is complete without a side of more bread and cheese. You can serve them with tomato sauce for dipping, in order to further enhance the redundancy of this side dish. If you're making Cudahy-Style Pizza and find you have too much dough, treat yourself to a Cudahy Funny Stic... Stique? Stik? A unit of Cudahy Funny Stix today!